
Ever scrolled through Instagram and wondered how some people manage to have such gorgeous, salon-worthy nails every single day? Here’s the secret they don’t want you to know: those stunning manicures probably cost less than your morning latte!
You don’t need to break the bank or spend hours perfecting intricate designs to achieve that expensive, polished look. With a few clever tricks and the right techniques, you can create 25 absolutely gorgeous nail designs using supplies you likely already have at home. The magic lies in understanding that expensive-looking nails are all about clean execution, thoughtful color choices, and those perfect finishing touches that make all the difference.
Are you ready to transform your nails into something gorgeous? Now let’s begin!
Let’s get started!
Budget-Friendly Essential Tools & Supplies
Most of what you need is probably already in your possession! Start with simple nail paints in your preferred hues, as well as white, black, and nude.
For tools, get creative: bobby pins make perfect dotting tools, small brushes work for details, and scotch tape creates clean lines.
The real game-changers? Base coat and top coat – these transform any polish into a professional-looking manicure.
The 25 Simple Nail Designs
Classic Elegance
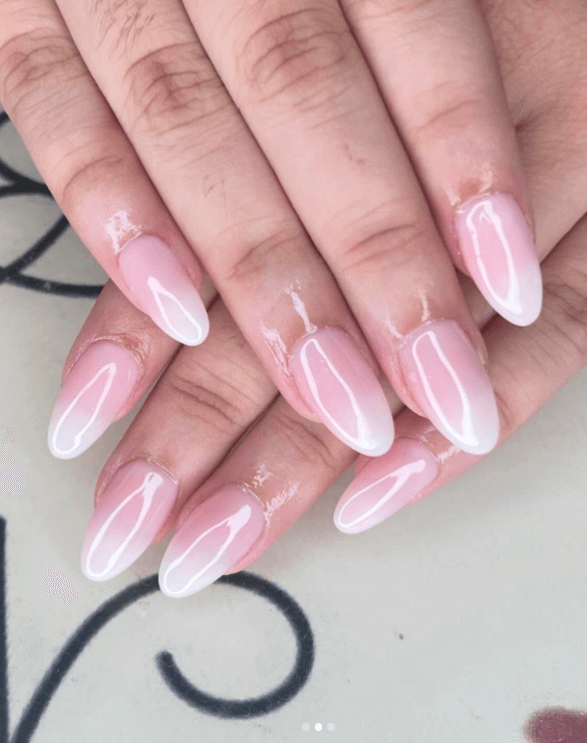
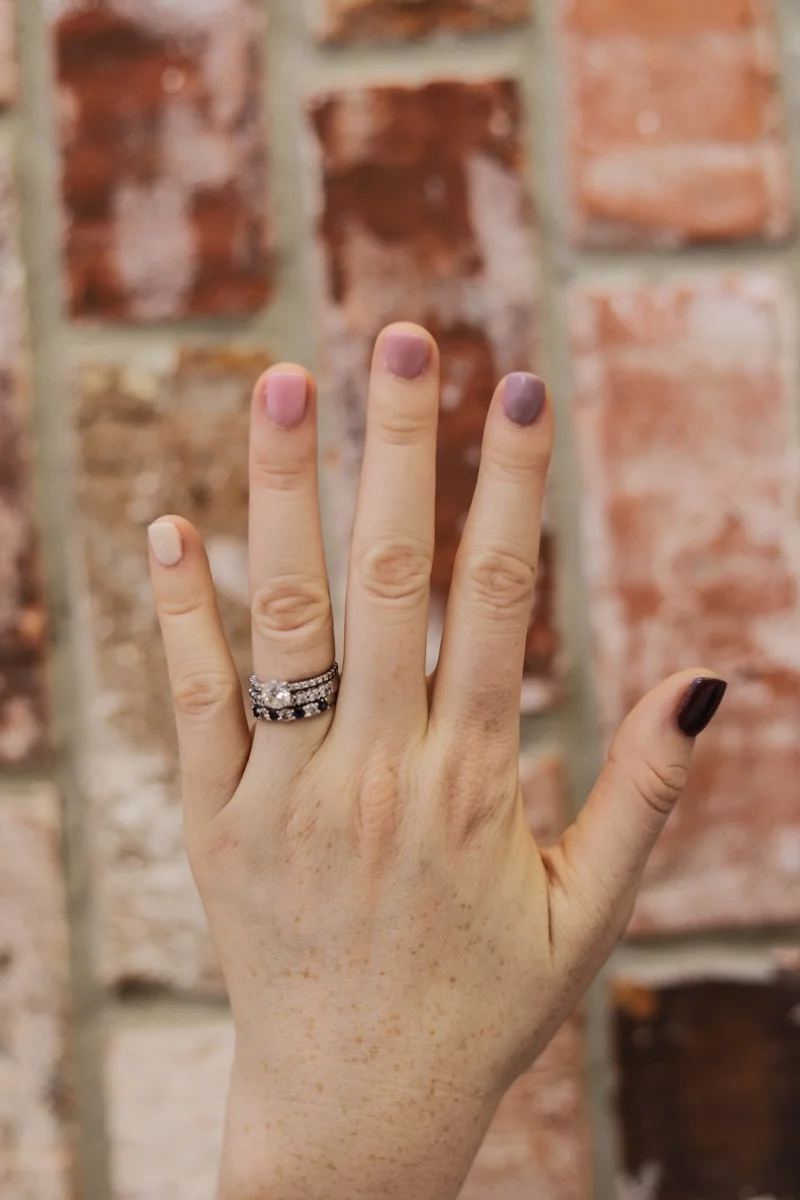
#25 French Manicure with a Twist
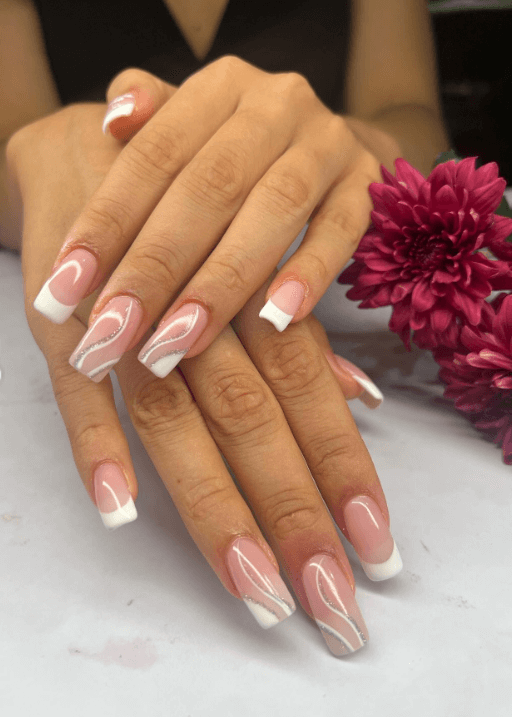
Instagram : atnoelines
Skip the traditional white tips and opt for soft pink, champagne, or even a subtle lavender. This modern take on the classic French manicure instantly elevates your look while maintaining that timeless elegance. The key is keeping your lines clean and your base coat smooth for that professional finish.
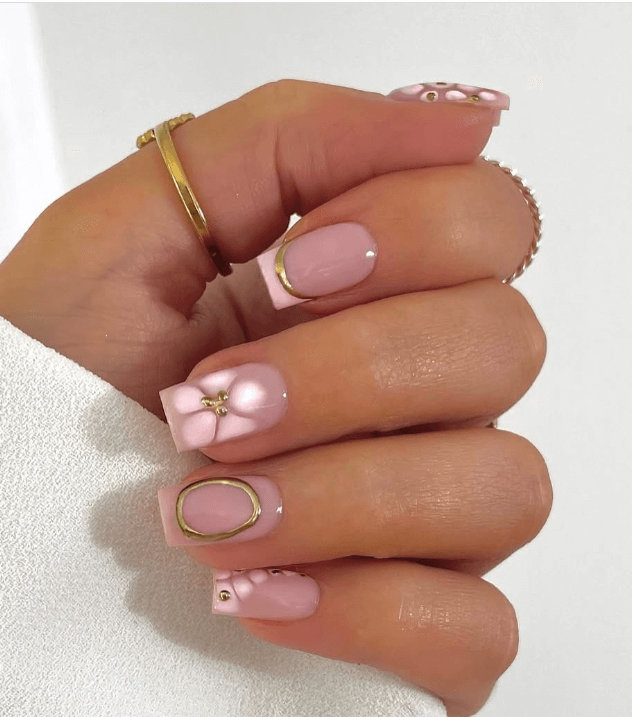
#24 Nude Base with Gold Accent
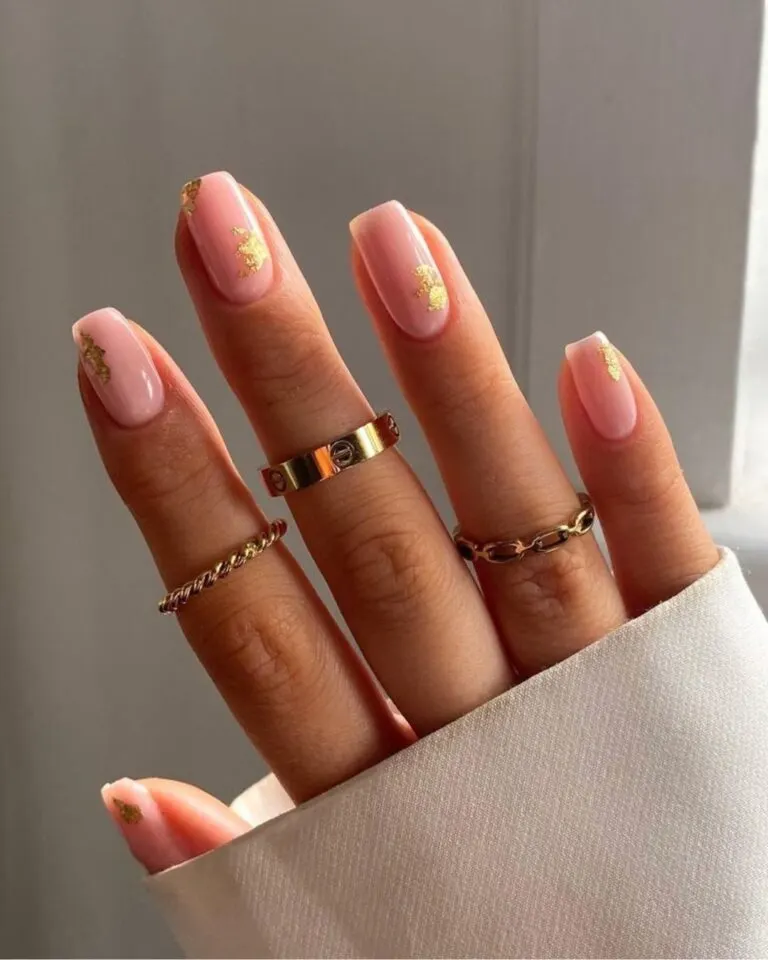
Instagram : annagracenails_
Advertisement
Nail Choose a nude tint that suits your skin tone and paint four nails, then highlight your ring finger with a stunning gold lacquer. This style is elegant enough for the office yet unique enough for dinner dates. The contrast adds visual interest without overpowering.
#23 Half-Moon Manicure
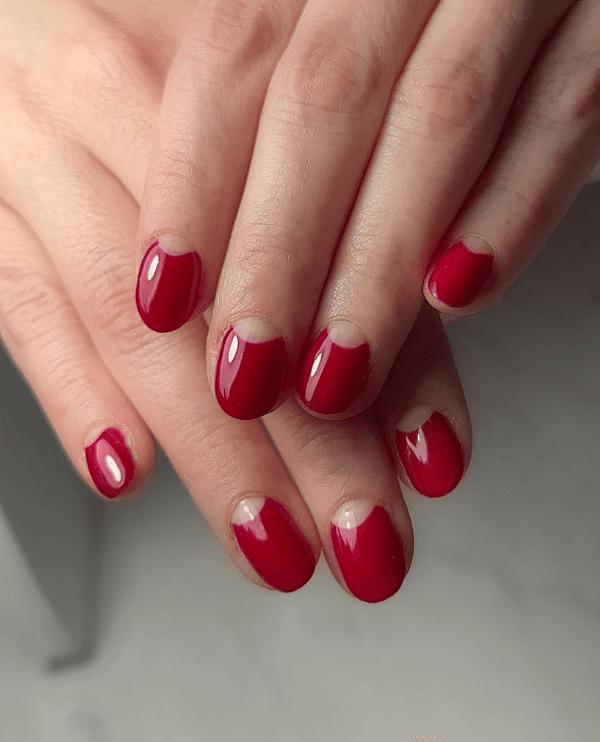
Instagram : nailor_moon
This vintage-inspired pattern is similar to a reverse French manicure and is incredibly gorgeous. Paint your nails in the color you like, then use a little brush or curved stickers to make a precise half-moon shape at the base. It’s retro-chic and surprisingly easy to learn.
Advertisement
#22 Minimalist Stripes
Instagram : lesalondieppe
Using thin strips of tape, create clean, geometric lines across one or two accent nails. The trick to professional-looking stripes is to firmly push the tape down and then remove it while the polish is still somewhat wet. For the most elegant effect, choose complementary hues.
#21 Matte Finish Magic
Instagram : mydumbnails
Take any nail polish color and transform it with a matte top coat. This simple switch instantly makes even the most basic shade look expensive and editorial. Matte nails have that high-fashion vibe that’s currently trending everywhere.
#20 Subtle Ombre
Instagram : nailsbysimzz
Blend two similar shades from light to dark across your nail using a makeup sponge. The gradient effect is mesmerizing and looks incredibly complex, but it’s actually quite forgiving for beginners. Start with colors in the same family for the most natural-looking result.
#19 Classic Red with Glossy Finish
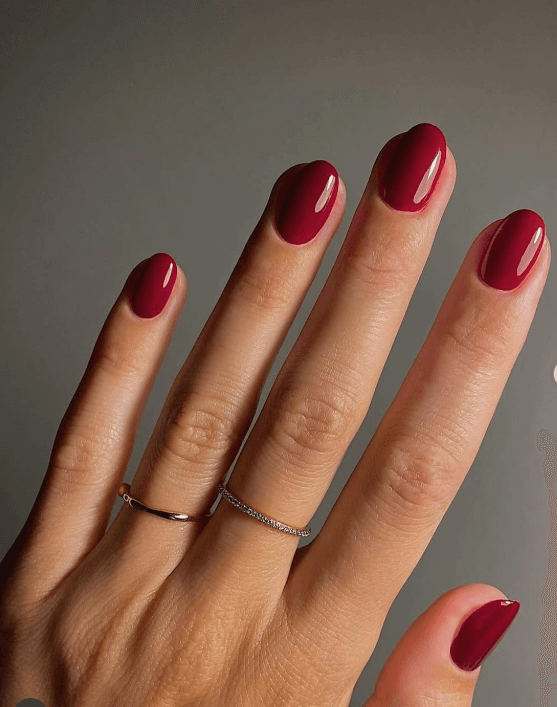
Instagram : manucurist
Sometimes the most elegant choice is the simplest one. A well applied classic red with a high-gloss sheen will never go out of style. The goal is to apply thin layers with clean cuticles and achieve a mirror-like top coat gloss.
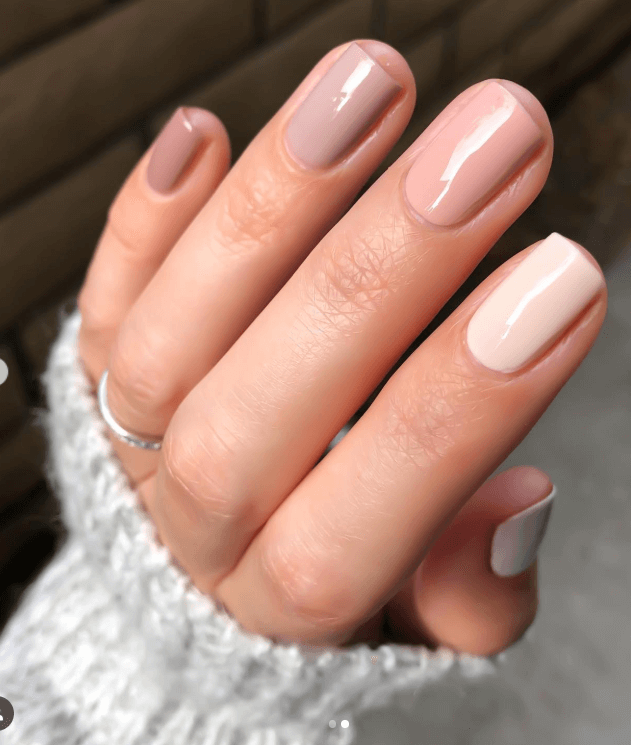
#18 Neutral Color Blocking
Combine two complementary neutral shades by painting half your nail in each color. Think soft beige with cream, or taupe with champagne. This geometric approach to color is modern, sophisticated, and surprisingly easy to achieve with tape as your guide.
Textural Interest
#17 Dotted Accent Nail
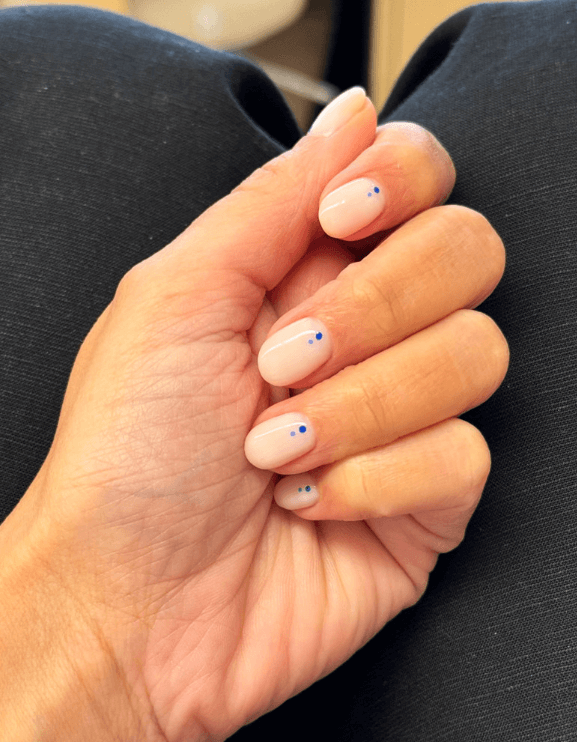
Instagram : badrabeauty.kw
Create perfect polka dots using the tip of a bobby pin dipped in contrasting polish. Start with larger dots and fill in with smaller ones, or keep it minimalist with just a few perfectly placed dots. This playful design adds personality while maintaining sophistication.
#16 Negative Space Triangles
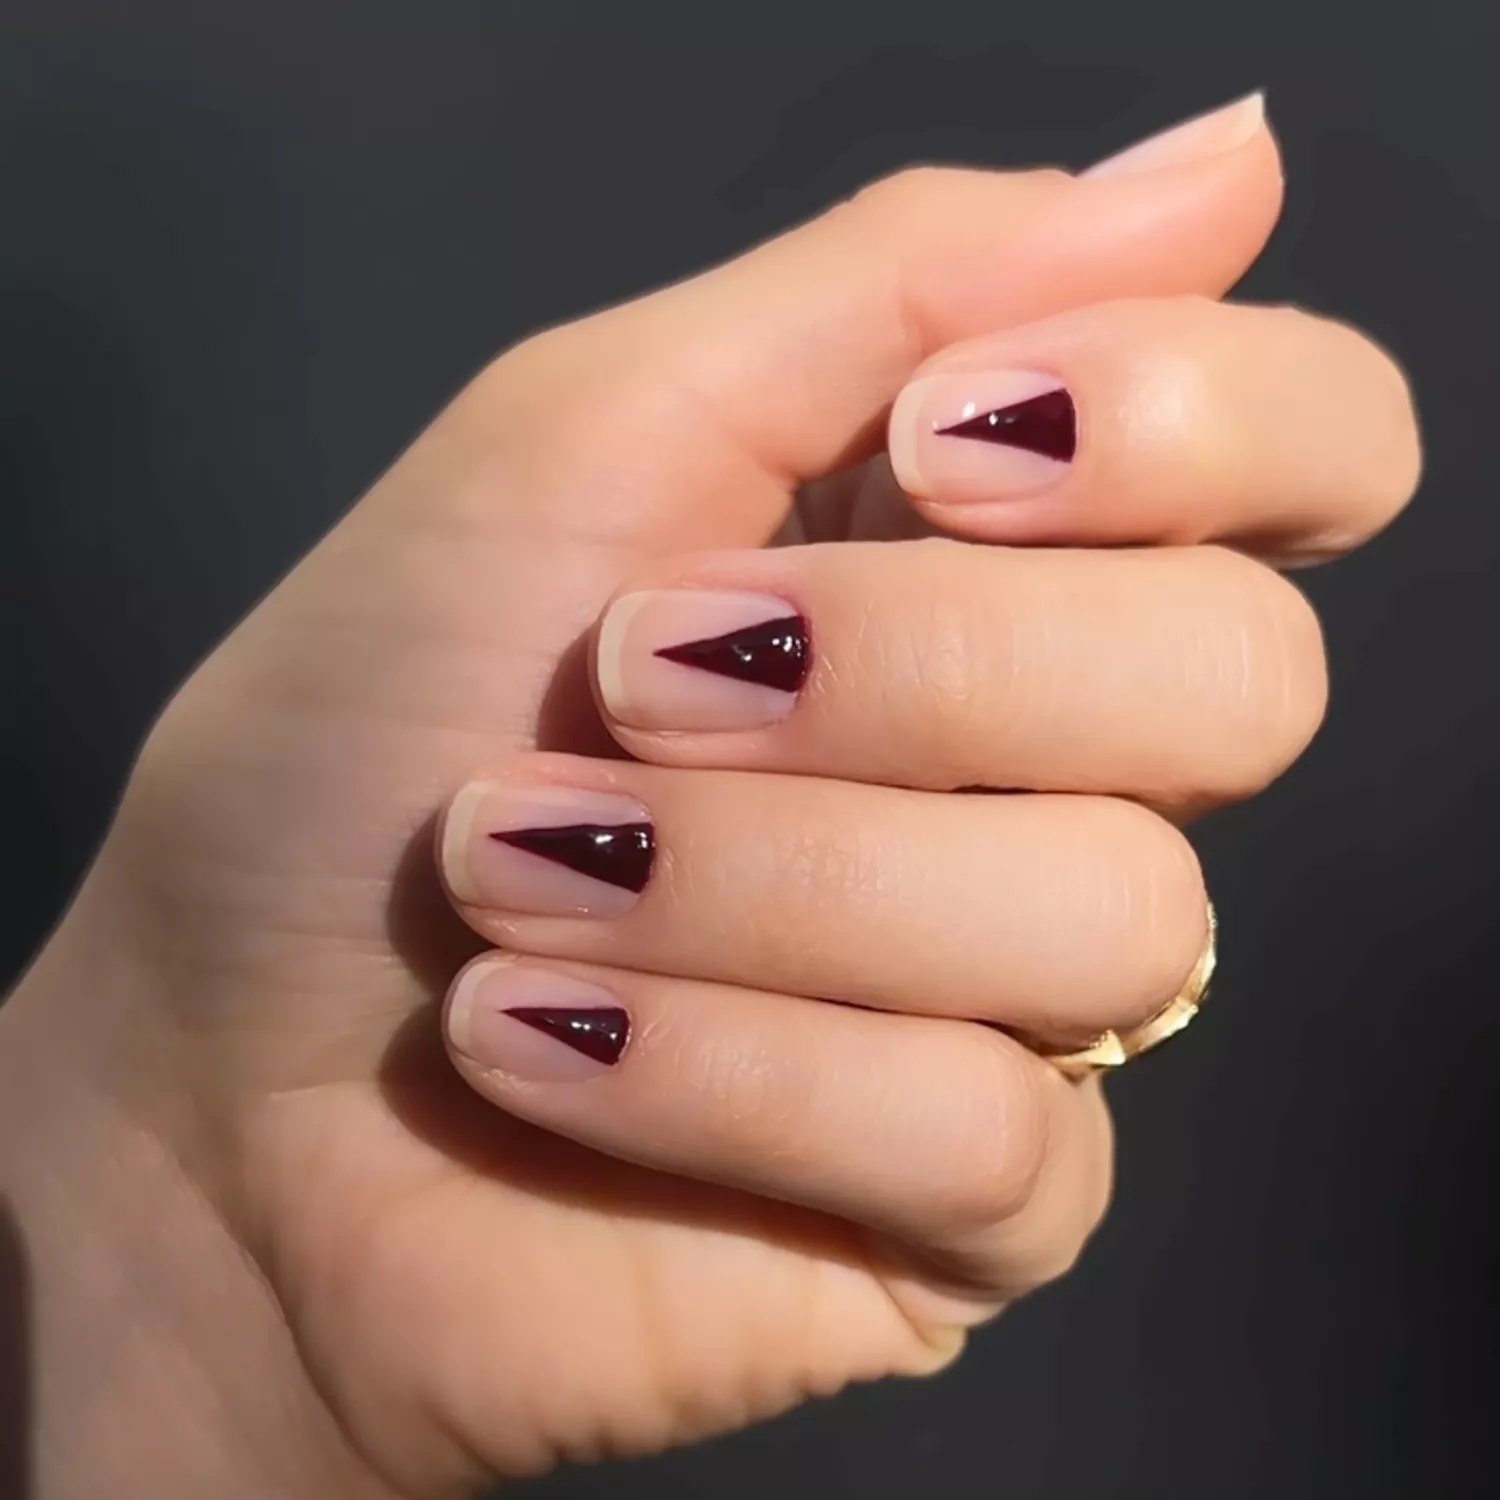
Instagram : @betina_goldstein
Use small pieces of tape to create triangle shapes, paint over them, and remove the tape to reveal your natural nail underneath. This negative space trend is incredibly chic and gives the illusion of professional nail art with minimal effort.
#15 Marble Effect
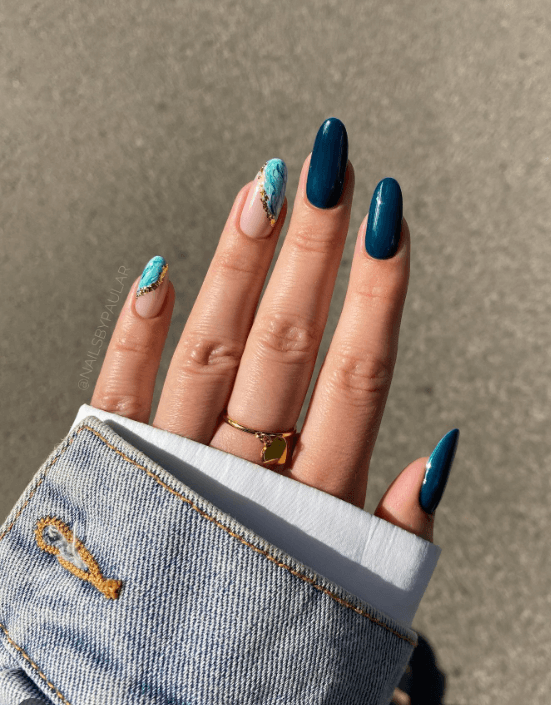
Instagram : nailsbypaular
Drop different colored polishes into a bowl of room temperature water, swirl gently with a toothpick, and dip your nail through the design. Each nail will be unique, creating a custom marble pattern that looks like expensive stone. It’s easier than you think and absolutely stunning.
#14 Metallic Foil Accent
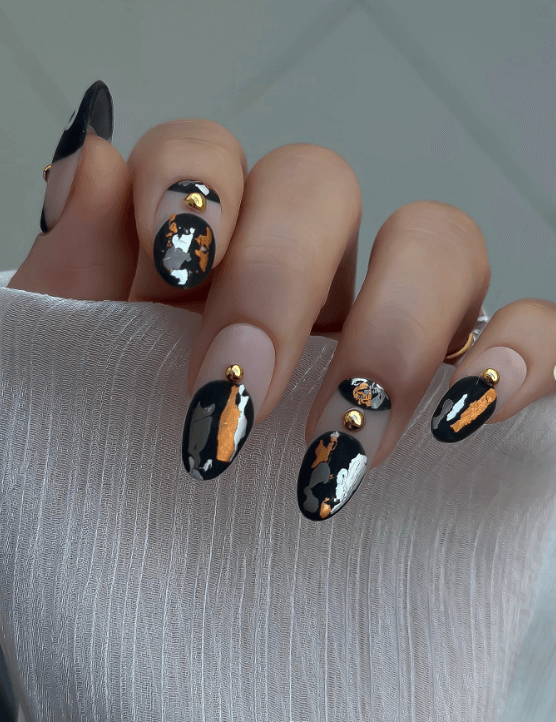
Instagram : nails_and_soul
Apply a special base coat, let it get tacky, then press metallic foil onto your nail. The result is a mirror-like finish that rivals the most expensive salon treatments. Use it on just one accent nail to keep the look sophisticated rather than overwhelming.
#13 Glossy tips on velvet matte
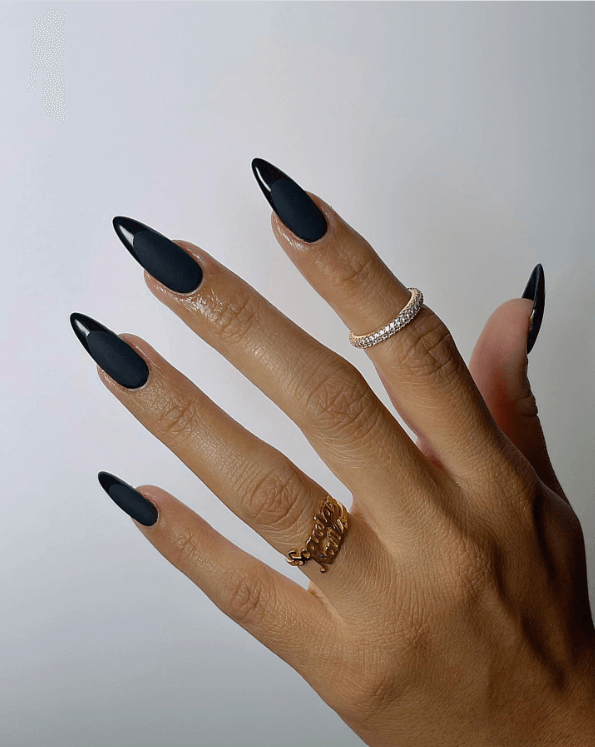
Instagram : scaviar.nails
After applying a matte nail polish, use a standard top coat to add glossy tips. This textural contrast is eye-catching and adds depth that brilliantly captures the light. Wearing it on your fingertips is similar to wearing jewelry.
#12 Simple Geometric Lines
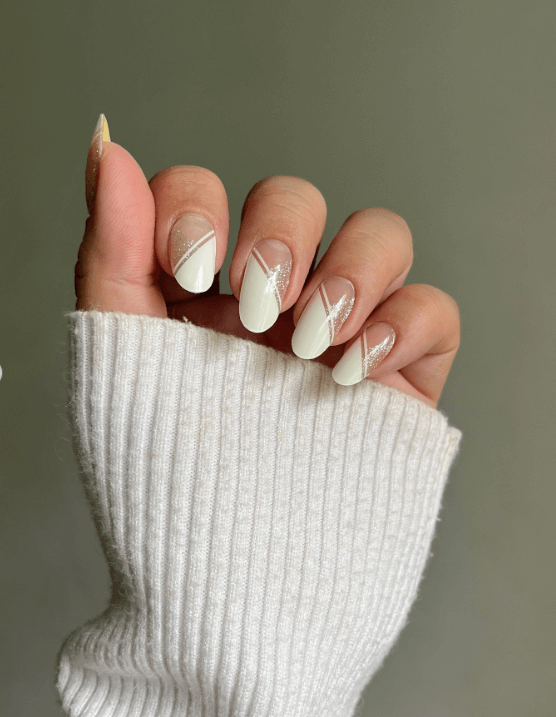
Instagram: annepacionails
Use tape to create clean geometric patterns – think triangles, diamonds, or intersecting lines. The key is choosing colors that complement each other and removing the tape while the polish is still slightly wet for the crispest lines.
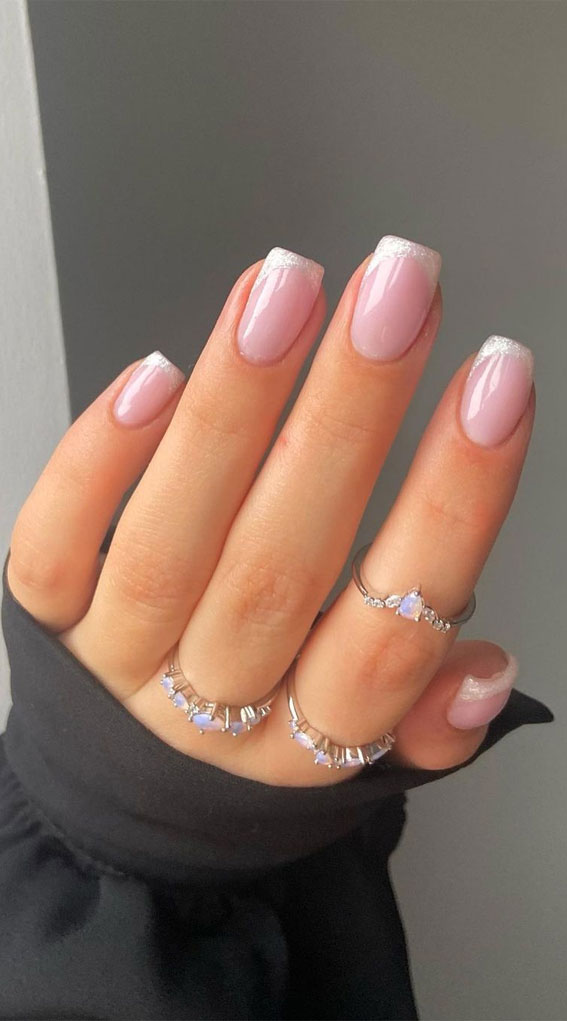
#11 Glitter Gradient
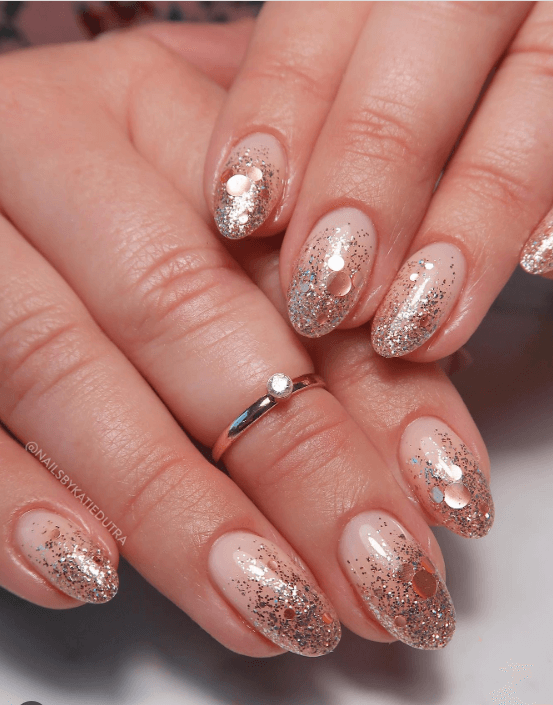
Instagram : nailsbykatiedutra
Start with a base color and use a makeup sponge to dab glitter polish from the tip toward the middle of your nail. This creates a beautiful gradient effect that’s sparkly without being overwhelming. Perfect for special occasions or when you want a little extra glamour.
#10 Minimalist Moon and Stars
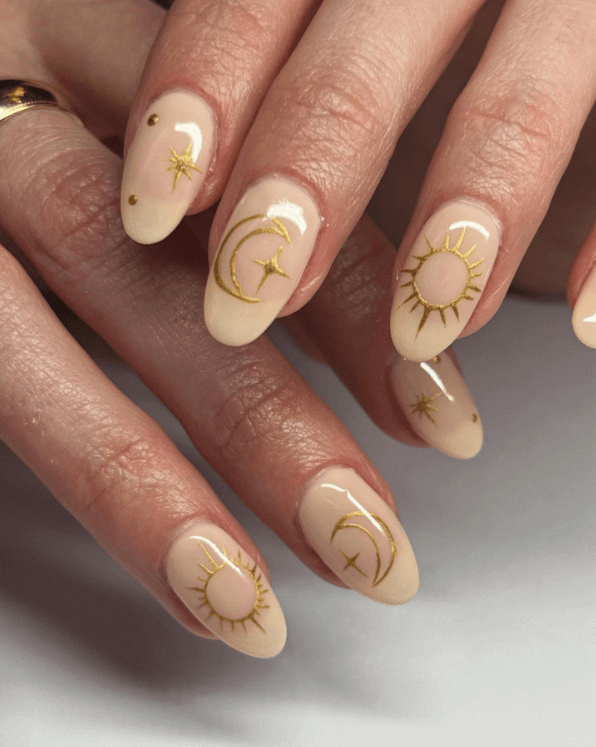
Instagram : vanityprojectsmia
Using the tip of a bobby pin or a small brush, create tiny celestial details on one or two accent nails. Keep it subtle with small gold or silver dots and crescents. This whimsical touch adds personality while maintaining an elegant overall look.
Color Play
#9 Monochromatic Gradient
credit : lmentsofstyle
Use different shades of the same color across your nails, from lightest to darkest. This creates a sophisticated ombre effect across your entire hand that’s incredibly pleasing to look at. Choose a color family you love and experiment with its various tones.
#8 Two-Tone Split
Instagram : lovefreshpaint
Divide each nail in half with tape and paint each section a different color. The clean line down the middle creates a modern, architectural look that’s surprisingly easy to achieve. Choose colors that complement each other for the most polished result.
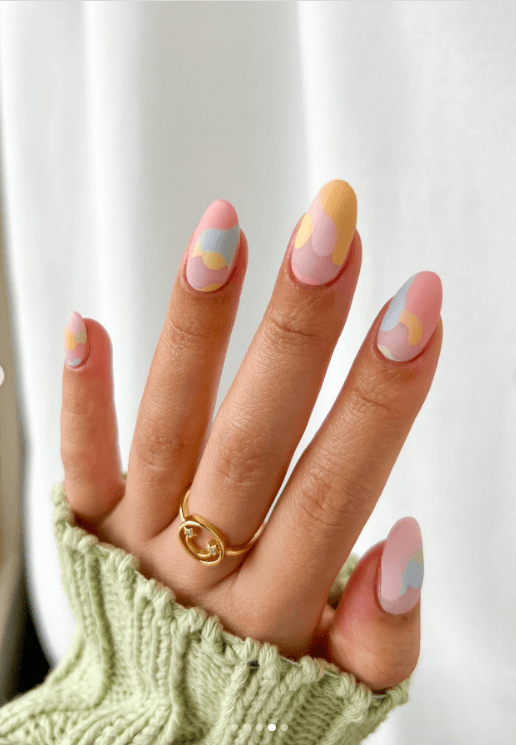
#7 Subtle Color Blocking
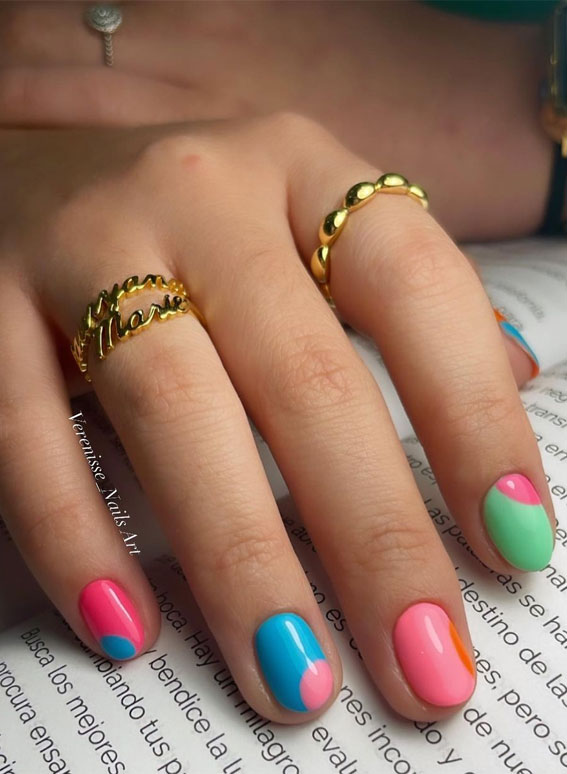
Instagram : verenisse_nailsart
Combine soft pastels in a color-blocking pattern across your nails. Think pale pink with mint green, or lavender with soft yellow. The key is keeping the colors soft and the application clean for that expensive, professional appearance.
#6 Barely-there glitter
Instagram: allnailss._
Layer a thin glitter polish over a neutral foundation to add delicate shimmer that catches the light nicely. This is ideal for individuals who wish to add a touch of elegance without going overboard. It’s classy enough for any event.
#5 Jewel Tone Accent
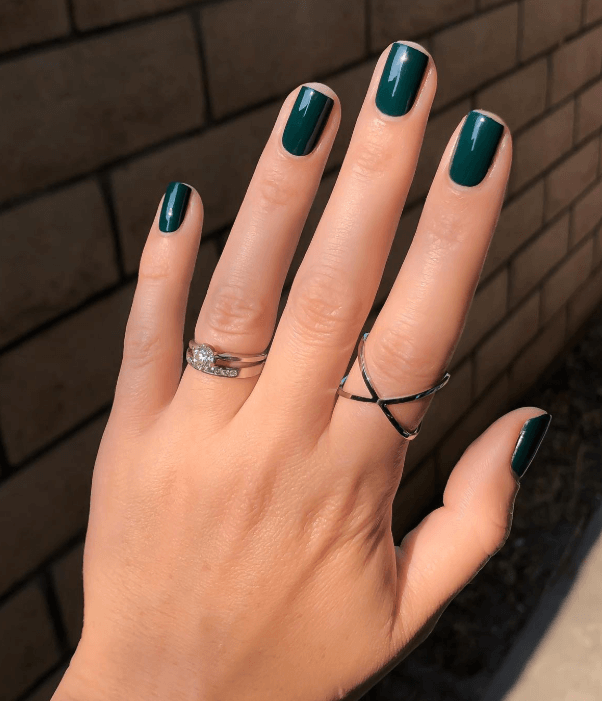
Instagram : lovefreshpaint
Paint four nails in a neutral shade and make one nail pop with a rich jewel tone like emerald, sapphire, or ruby. This creates a sophisticated focal point while keeping the overall look balanced and wearable for any occasion.
#4 Soft Pastel Ombre
Instagram : heygreatnails
Blend soft pastel colors from nail to nail or within each nail for a dreamy, ethereal effect. The gentle color transition is romantic and feminine, perfect for spring and summer or anytime you want to feel a little more whimsical.
#3 Metallic Stripe Detail
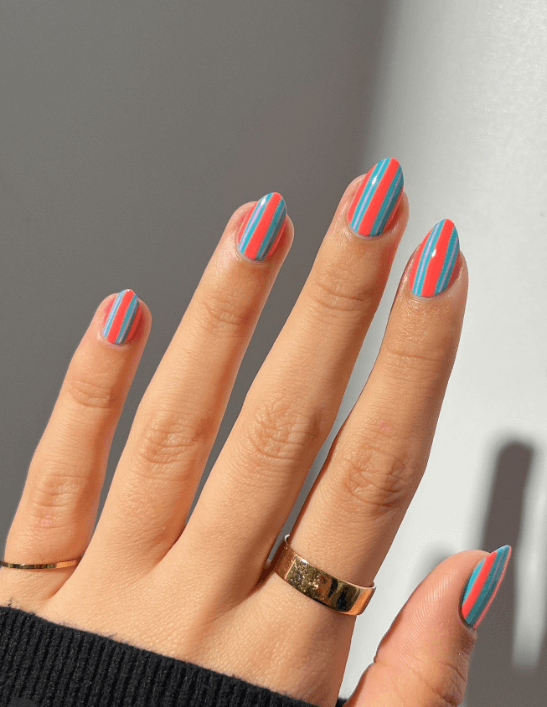
Instagram : samrosenails
Add thin metallic stripes to a solid base color using a small brush or striping tape. Gold stripes on navy blue, silver on deep purple, or rose gold on blush pink create that expensive, detailed look with minimal effort.
#2 Color-Coordinated Tips
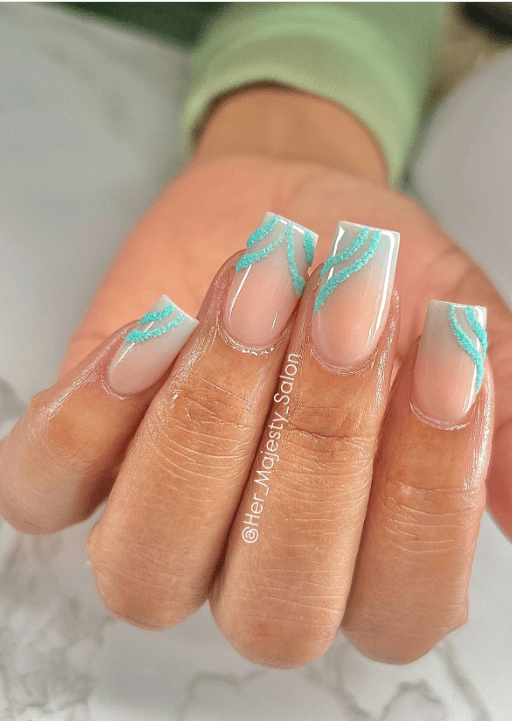
Instagram: her_majesty_salon
Instead of traditional French tips, paint your tips to match your outfit or accessories. This coordinated approach shows attention to detail and creates a polished, put-together appearance that looks intentionally styled.
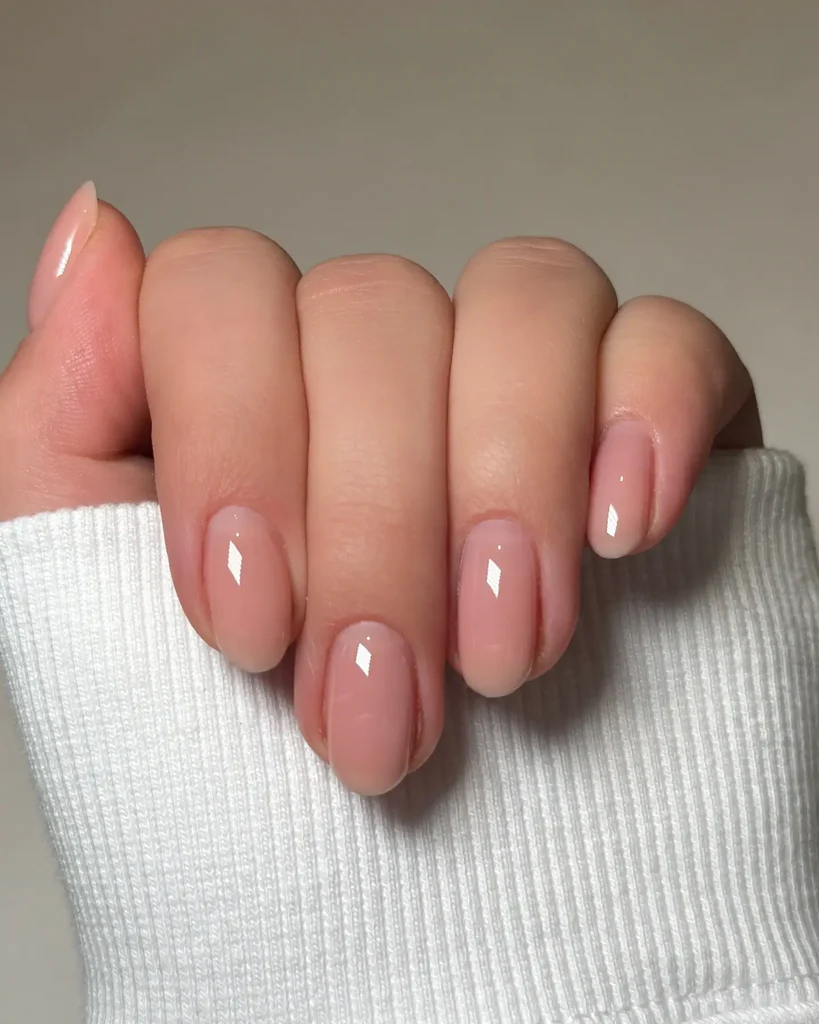
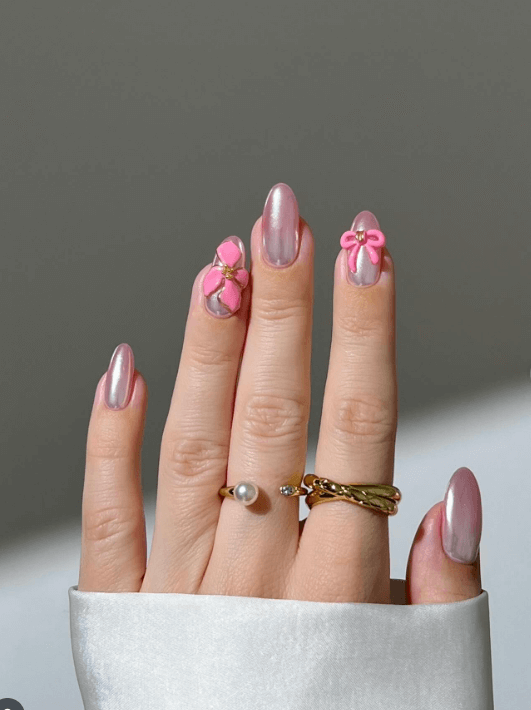
#1 Sheer Layering
Instagram : ideas_for_nailart
Build depth and dimension by layering sheer polishes in complementary colors. Start with a clear or nude base and add thin layers of translucent colors to create a complex, sophisticated finish that changes in different lighting.
Pro Tips for Expensive-Looking Results
The secret to salon-quality nails? Proper prep and technique. Start with clean, shaped nails and always apply thin coats rather than one thick layer. Keep a small brush with acetone nearby for quick cleanup around cuticles.
Never skip the top coat – it’s what gives that glossy, professional finish. And remember, well-maintained cuticles instantly elevate any nail design!
Bonus Section
Quick Reference: Most of these designs are beginner-friendly, with the marble effect and foil application being slightly more advanced. Don’t be afraid to practice – even imperfect attempts often look better than you think!
Seasonal Palette Suggestions: Spring calls for soft pastels and fresh colors, summer embraces bright and bold shades, fall welcomes rich jewel tones and metallics, while winter is perfect for deep colors and sparkly accents.
Troubleshooting: If your polish bubbles, you’re applying too thick coats or not letting layers dry completely. If it chips quickly, you might be skipping the base coat or not sealing your tips properly with top coat.
Conclusion
Beautiful, expensive-looking nails don’t require a hefty budget or hours of practice – they just need the right techniques and a little creativity. These 25 designs prove that with some basic supplies and smart tricks, you can achieve stunning results that rival any high-end salon.
The best part? Once you master these techniques, you’ll have endless possibilities for creating your own unique combinations and styles. Don’t be afraid to experiment, mix and match ideas, and make these designs your own.
Why not start this week by trying one design that caught your eye? Your nails (and your wallet) will thank you! Remember, practice makes perfect, but even your first attempts will likely surprise you with how professional they look. Happy polishing!