
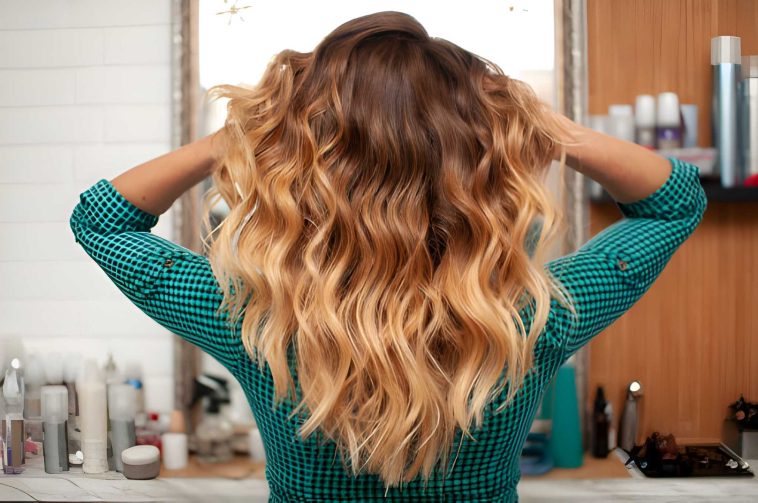
Okay, let’s be real—there’s something about those effortless, beachy waves that just works. You know the look I’m talking about: that “I woke up like this” vibe that somehow looks polished and carefree at the same time. Whether you’re heading to brunch or a beach bonfire, wavy hair is universally flattering and ridiculously versatile.
Here’s the thing: achieving those waves isn’t some mystical art form reserved for hair stylists. You can totally make your hair wavy like a pro from your own bathroom. In this guide, I’m breaking down everything you need to know—from heat styling to heatless overnight methods, the products that actually work, and all the tricks that’ll keep those waves looking fresh for days.
Understanding Your Hair Type
Before you grab that curling iron, let’s talk about your hair. Understanding your specific texture is the secret sauce to getting waves that actually stick around.
Hair textures basically fall into three camps: straight, wavy, and curly. If you have pin-straight hair, you’ll need more coaxing (and probably more product) to create waves. Natural wavies? You’re halfway there already. And if you’re working with curly hair, you’re likely looking to loosen those curls into softer waves.
Now here’s where it gets nerdy (but important): porosity. This is basically how well your hair absorbs and holds moisture. High porosity hair drinks up products like a sponge but can lose moisture quickly. Low porosity hair is more stubborn—it resists products but holds styles longer once you get them to stick.
Quick assessment: Grab a strand of clean hair and run your fingers down it. Does it feel smooth? That’s low porosity. Rough or bumpy? High porosity. FYI, most people fall into the medium category, so don’t stress too much about this 🙂
Essential Tools & Products for Hair Wavy
Let’s talk arsenal. You don’t need to drop your entire paycheck at the beauty store, but having the right tools makes everything easier.
Heat Tools
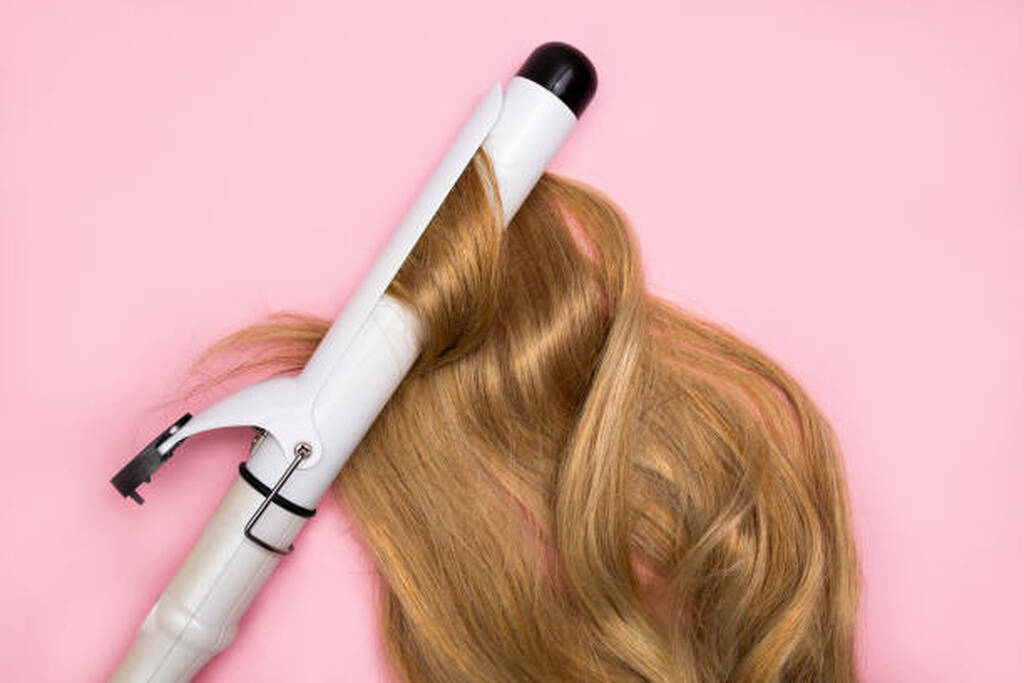
Curling wands vs. curling irons: Wands don’t have a clamp, which means you manually wrap your hair around the barrel. This gives you more natural-looking waves with no weird creases. Irons have that clamp, which can be easier for beginners but sometimes leaves dents. IMO, wands are worth the slight learning curve.
Flat irons aren’t just for straightening—they’re actually amazing for creating loose, flowing waves. The trick is all in the wrist action.
Heatless Tools
Braids are the OG heatless method. They’re free, easy, and you can sleep in them. Foam rollers and flexi rods give you more control over wave size. And the headband/sock method? It sounds weird, but it works surprisingly well for loose, romantic waves.
Products You Actually Need for Hair Wavy
- Texturizing sprays: Add grip and volume
- Sea salt sprays: Create that beachy, matte texture
- Mousse and styling creams: Hold waves without crunchiness
- Heat protectants: Non-negotiable if you’re using hot tools
Prep Your Hair for Perfect Waves
Ever wonder why salon waves look so much better? It’s all in the prep, baby.
Advertisement
Start with clean, conditioned hair. Skip the heavy, silicone-loaded conditioners—they’ll weigh your hair down. Towel-dry gently by squeezing out excess water with a microfiber towel or old t-shirt. This reduces frizz and keeps your texture intact.
Apply heat protectant to damp hair from mid-shaft to ends. Don’t glob it on—a light, even coating is all you need. And here’s the golden rule: your hair should be damp, not soaking wet, when you start styling.
Heat Styling Methods
Method 1: Curling Iron/Wand Waves
This is the classic approach, and once you get it down, it’s foolproof.
Advertisement
Step-by-step:
- Section your hair into 1-2 inch pieces
- Wrap each section around the barrel, holding for 5-10 seconds
- Alternate directions—wrap one section away from your face, the next toward it
- Let each curl cool completely before touching it
Temperature settings: Fine hair needs 300-350°F, medium hair works with 350-400°F, and thick hair can handle 400-450°F. When in doubt, start lower.
Pro tip: That alternating direction thing? It prevents your waves from clumping together into one massive curl. It creates that effortless, piece-y look everyone’s after.
Method 2: Flat Iron Waves
The flat iron method is underrated and honestly faster once you nail the technique.
The “S” curve technique: Clamp your hair near the roots, twist your wrist 180 degrees, glide down a few inches, twist back the opposite direction, and repeat. You’re literally creating an S-shape in your hair.
Want loose waves? Use bigger sections and fewer twists. Want tighter waves? Smaller sections, more twists, slower gliding.
Common mistakes: Moving too fast, clamping too hard (hello, creases), and forgetting to twist your wrist.
Method 3: Blow Dryer Diffuser Method
If you’ve got naturally wavy hair, this method enhances what you’ve already got.
Apply a curl-enhancing mousse to damp hair, then flip your head upside down. Cup sections of your hair in the diffuser and pulse the dryer on medium heat. The scrunching technique is key—gently squeeze your hair upward toward your scalp while the diffuser does its thing.
Heatless Styling Methods
Method 1: Overnight Braids

The easiest method known to humankind. Seriously, if you can braid, you can have waves.
French braids give you tighter, more uniform waves. Regular braids create looser, more relaxed waves. For a natural look, do two French braids on damp hair before bed.
How many braids? Two braids = loose, beachy waves. Four to six braids = tighter waves. Use soft scrunchies at the ends to avoid creases.
Method 2: Twist and Pin
This gives you gorgeous, romantic waves with minimal effort.
Section damp hair into 6-8 pieces. Twist each section tightly, then coil it into a mini bun against your head. Secure with bobby pins. Sleep on it (or leave it for 6+ hours), then unpin and gently separate the waves with your fingers.
Method 3: Headband/Robe Tie Method
This looks ridiculous but works like magic for loose, flowing waves.
Place a stretchy headband across the top of your head like a halo. Starting at one side, wrap small sections of damp hair around the band, working your way around your entire head. Secure the end and sleep on it. This works best on shoulder-length or longer hair.
Method 4: Foam Rollers

Old school? Yes. Effective? Absolutely.
Bigger rollers (1.5-2 inches) give you loose, bouncy waves. Smaller rollers create tighter waves. Section damp hair, apply mousse, and roll each section from ends to roots. Leave them in for at least 4-6 hours.
Setting and Finishing Your Waves
Cool down before touching: Let curls cool completely while still in their curled shape. This sets the pattern.
Finger-combing vs. brushing: Never brush your waves if you want them to stay defined.
Adding volume at the roots: Flip your head upside down and shake it out, or use a teasing brush at the crown. You can also spritz dry shampoo at the roots for instant volume.
Finishing products: A light mist of texturizing spray adds grip. A pea-sized amount of serum on the ends tames flyaways. For hold, use flexible hairspray from about 10 inches away.
The “scrunch and shake” method: Scrunch your waves gently from the bottom up, then shake your head side to side. This creates that effortless vibe.
Making Your Waves Last
Nobody wants to redo their hair every single day (ain’t nobody got time for that).
Hairspray application: Hold the can at arm’s length and use short bursts. You want a light coating, not a crunchy helmet.
Sleeping with waves: Invest in a silk or satin pillowcase—it reduces friction and frizz. You can also gather your hair into a very loose, high bun on top of your head.
Day-two refresh: Mist your hair lightly with water, scrunch it, and hit it with a diffuser for 2-3 minutes. Or wrap a few pieces around your curling iron for a quick touch-up.
Troubleshooting Common Problems
Waves falling flat quickly: You need more product or your hair is too clean. Try using a stronger-hold mousse before styling, or add texturizing spray for grip.
Frizz control: Use an anti-frizz serum on damp hair before styling, and finish with a light oil on just the ends. Avoid touching your hair throughout the day.
Uneven wave pattern: Pay attention to keeping your sections roughly the same size, and wrap each piece the same way. Practice makes perfect.
Heat damage prevention: Always use heat protectant. Avoid going over the same section multiple times.
Waves too tight or too loose: Too tight? Use bigger sections, lower heat, and hold the tool for less time. Too loose? Smaller sections, slightly higher heat, and hold a bit longer.
Pro Tips and Tricks
Want to level up your wave game? Here are some salon secrets:
The “cold shot” technique: After releasing each curl, blast it with the cold setting on your blow dryer for 5 seconds. This sets the curl instantly and makes it last way longer.
Layering products correctly: Apply in this order: heat protectant first, then mousse, then texturizing spray after styling, and finally hairspray.
Best practices by hair length: Short hair needs smaller sections and tighter waves. Long hair benefits from bigger sections and looser waves to avoid looking too “done.”
Weather-proofing your waves: On humid days, use anti-humidity products and finish with stronger-hold hairspray. On dry days, add a bit more moisture with a leave-in conditioner.
Hair Health Matters
Beautiful waves start with healthy hair, period.
Protecting from heat damage: Besides using heat protectant, limit hot tool use to 2-3 times per week max. Embrace heatless methods on your off days.
Deep conditioning treatments: Once a week, use a nourishing hair mask. Focus on your ends, which are the oldest and most damaged part of your hair.
Trimming split ends: Get a trim every 8-12 weeks. Split ends make styling way harder, and healthy ends hold waves better.
Balanced protein-moisture routine: If your hair feels mushy, you need protein. If it feels dry or brittle, you need moisture. Rotate between protein treatments and moisturizing masks.
Wrapping It Up
So there you have it—everything you need to make your hair wavy like a pro. Whether you’re team hot tools or team heatless, the key is finding what works for your specific hair type and lifestyle.
Don’t get discouraged if your first attempts aren’t Instagram-worthy. Honestly, even pros have bad hair days. Experiment with different methods, play around with products, and give yourself grace while you’re learning.
The beauty of waves is that they’re supposed to look a little imperfect and lived-in. That’s literally the whole vibe. So embrace the learning curve, have fun with it, and before you know it, you’ll be that person everyone asks, “How do you get your hair to look like that?”
Now go forth and wave! Drop a comment below if you try any of these methods—I want to hear which one becomes your go-to. Happy styling!