
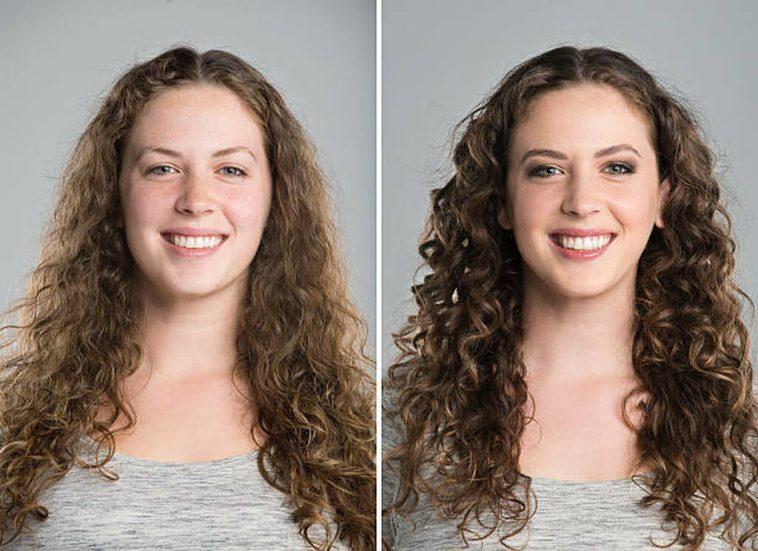
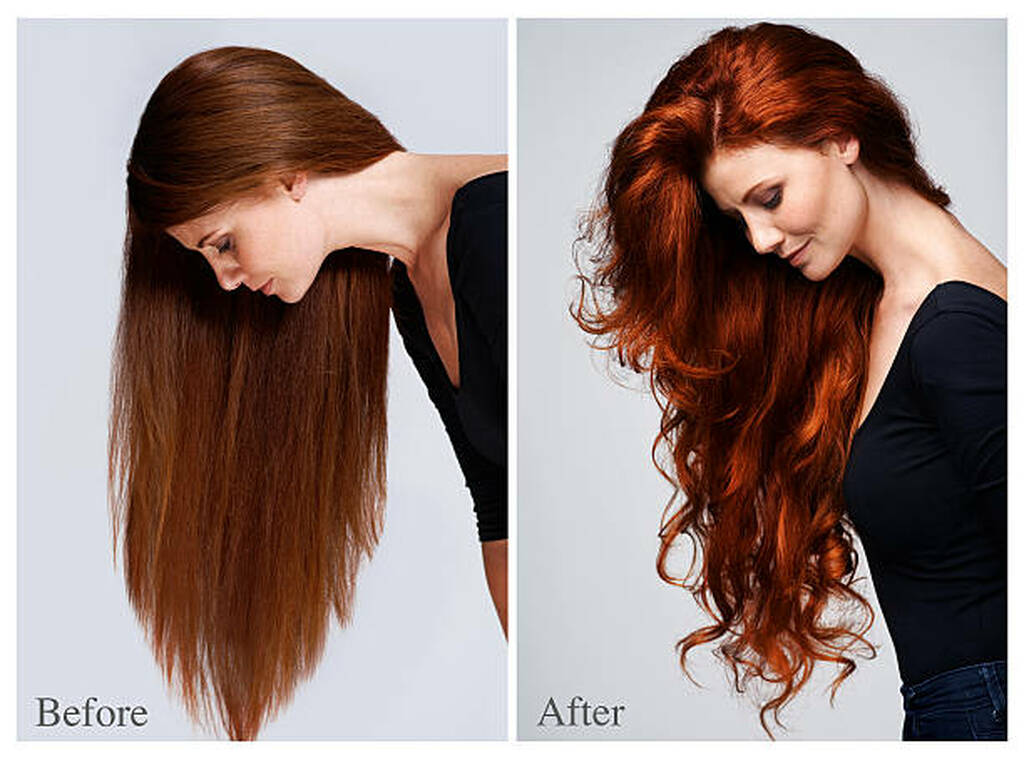
Look, I get it. You’ve been staring at those gorgeous spiral curls on Instagram, wondering why your hair just won’t cooperate. You’re tired of waking up with flat, lifeless strands while everyone else seems to have naturally bouncy curls. The good news? You don’t need expensive salon treatments or heat tools that’ll fry your hair into oblivion.
Here’s the thing—you can totally wake up with curlier, bouncier hair without spending a dime on hot tools. I’m talking about no-heat, overnight methods that actually work. Whether you’ve got naturally wavy hair that needs a little push, loose curls that need more definition, or straight hair that’s begging for some texture, these tricks have got you covered. Trust me, your hair (and your wallet) will thank you.
Preparing Your Hair for Overnight Curling
Before you jump into bed with wet hair and hope for the best, let’s talk prep work. Because honestly? Preparation is the difference between waking up with fabulous curls and looking like you stuck your finger in an electrical socket.
Start with damp hair—not soaking wet. I can’t stress this enough. If your hair is dripping, you’ll wake up with damp spots and weird kinks. If it’s too dry, nothing’s gonna set properly. The sweet spot is that barely-damp-to-the-touch texture.
Now, slap on some curl-enhancing products. Mousse, curl cream, or leave-in conditioner—pick your poison. These products give your hair something to hold onto while it sets overnight. Your hair’s texture and porosity matter here, too. Fine hair? Go light on the products. Thick, coarse hair? Load it up a bit more.
Pro tip: Wash your hair about 2-3 hours before bed. This gives it time to dry to that perfect dampness level. You’re welcome.
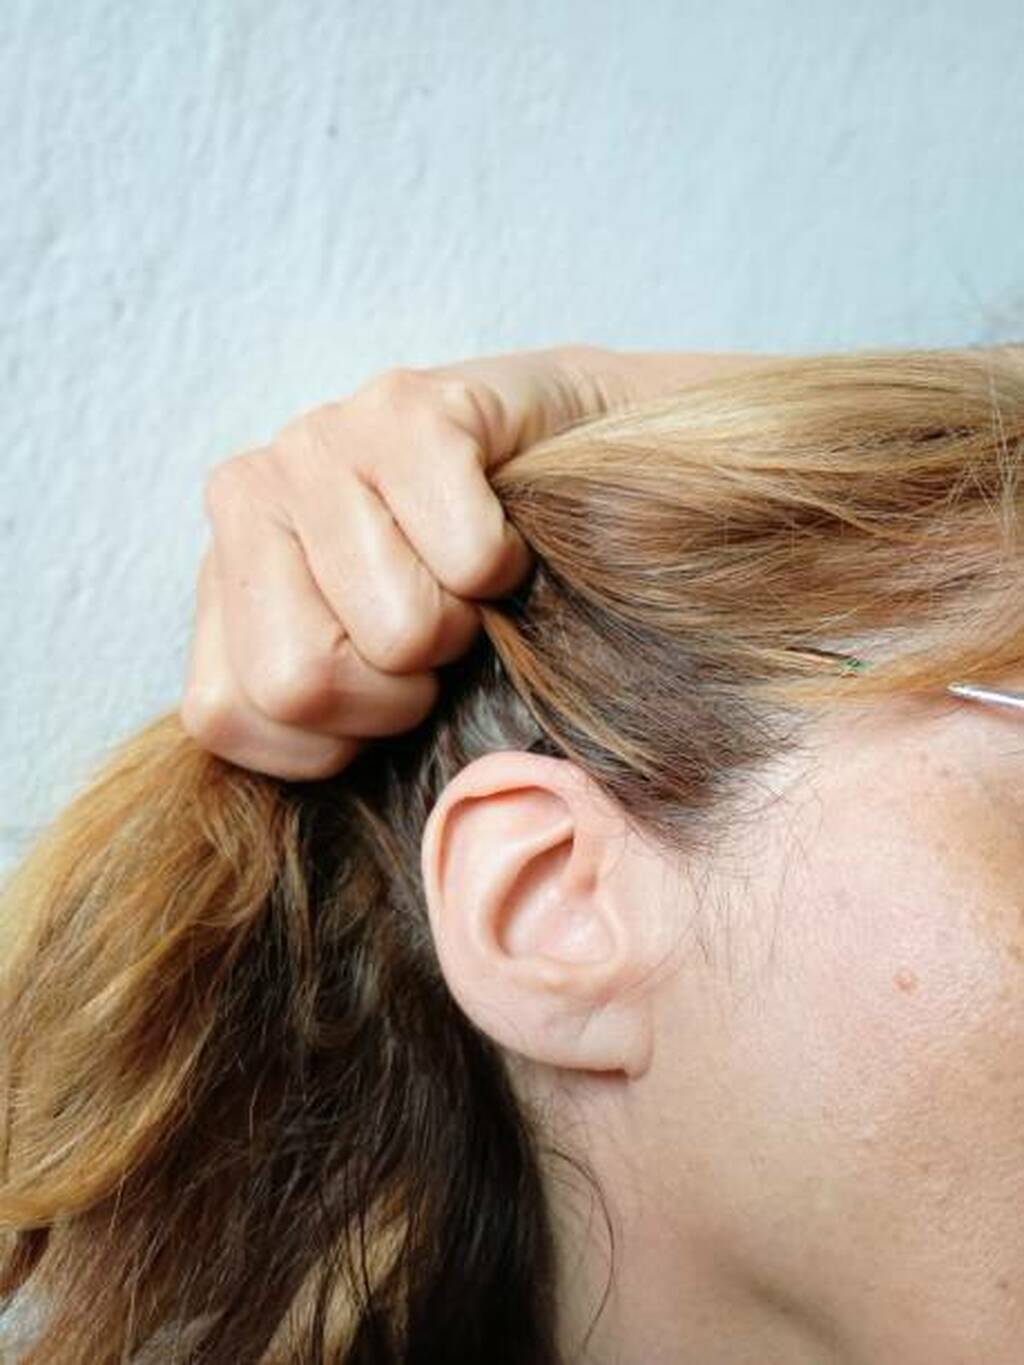
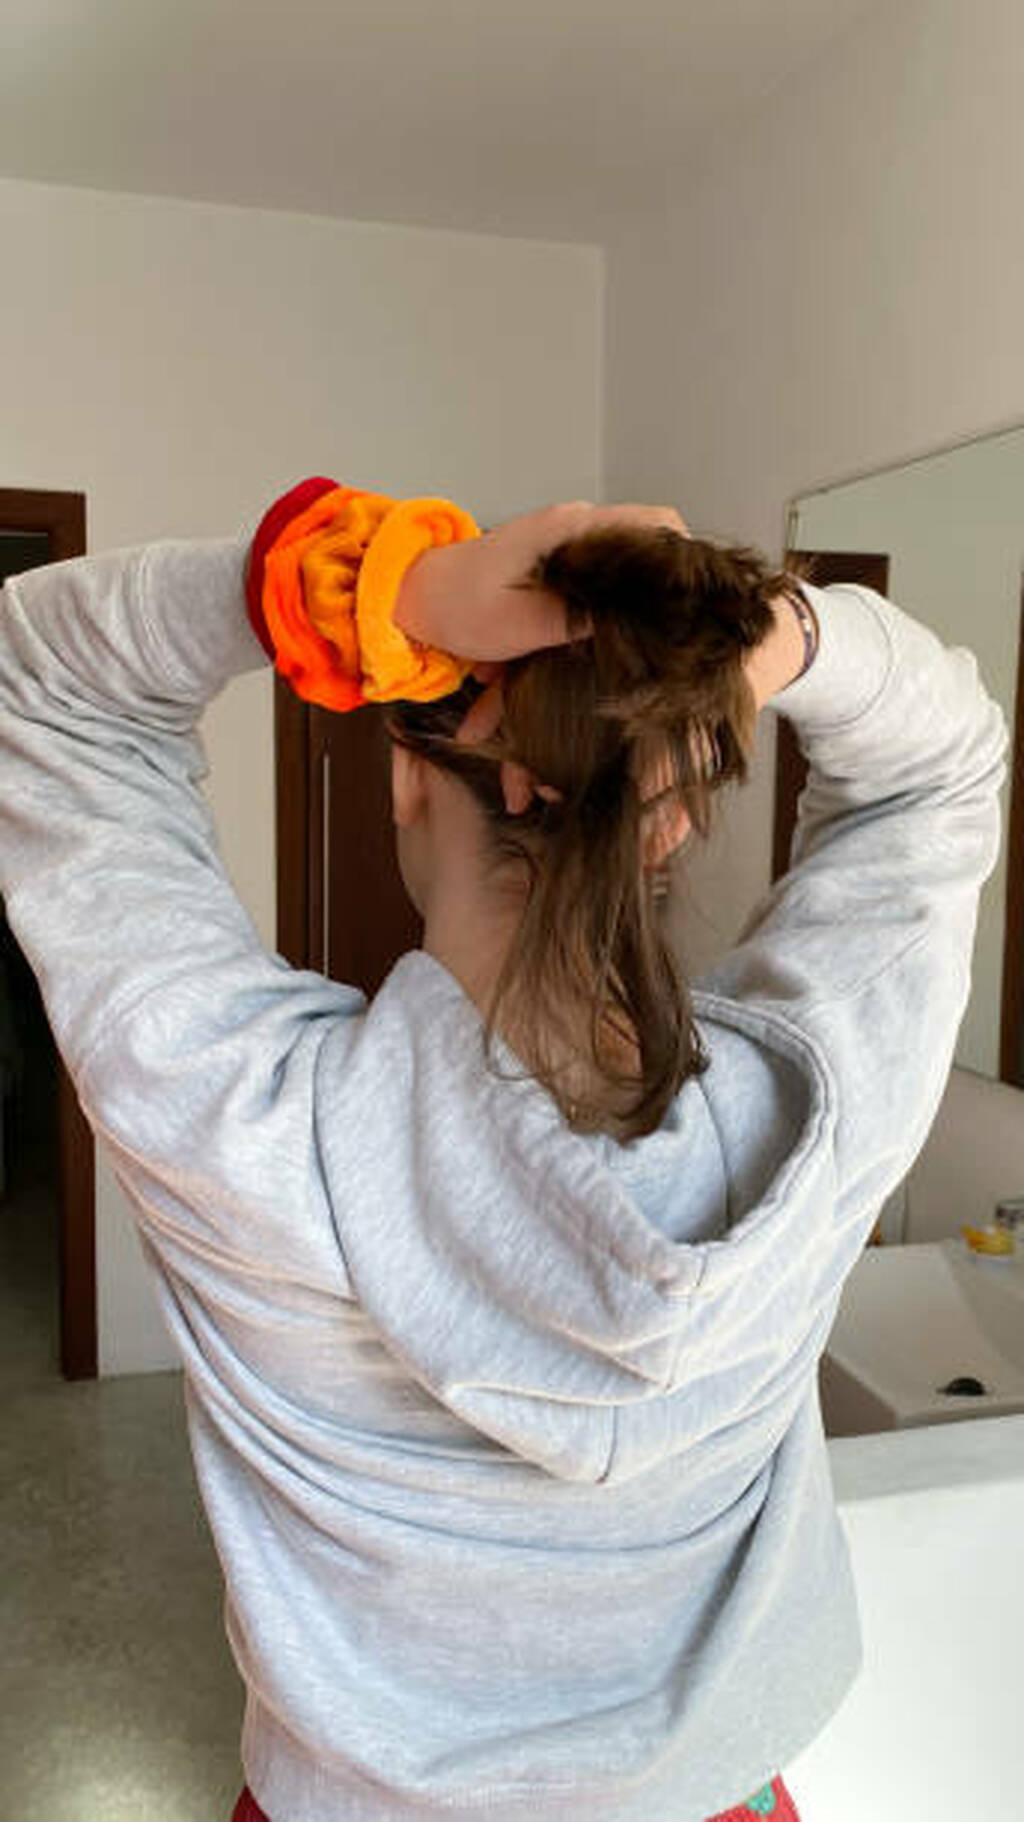
Method 1: The Pineapple Method
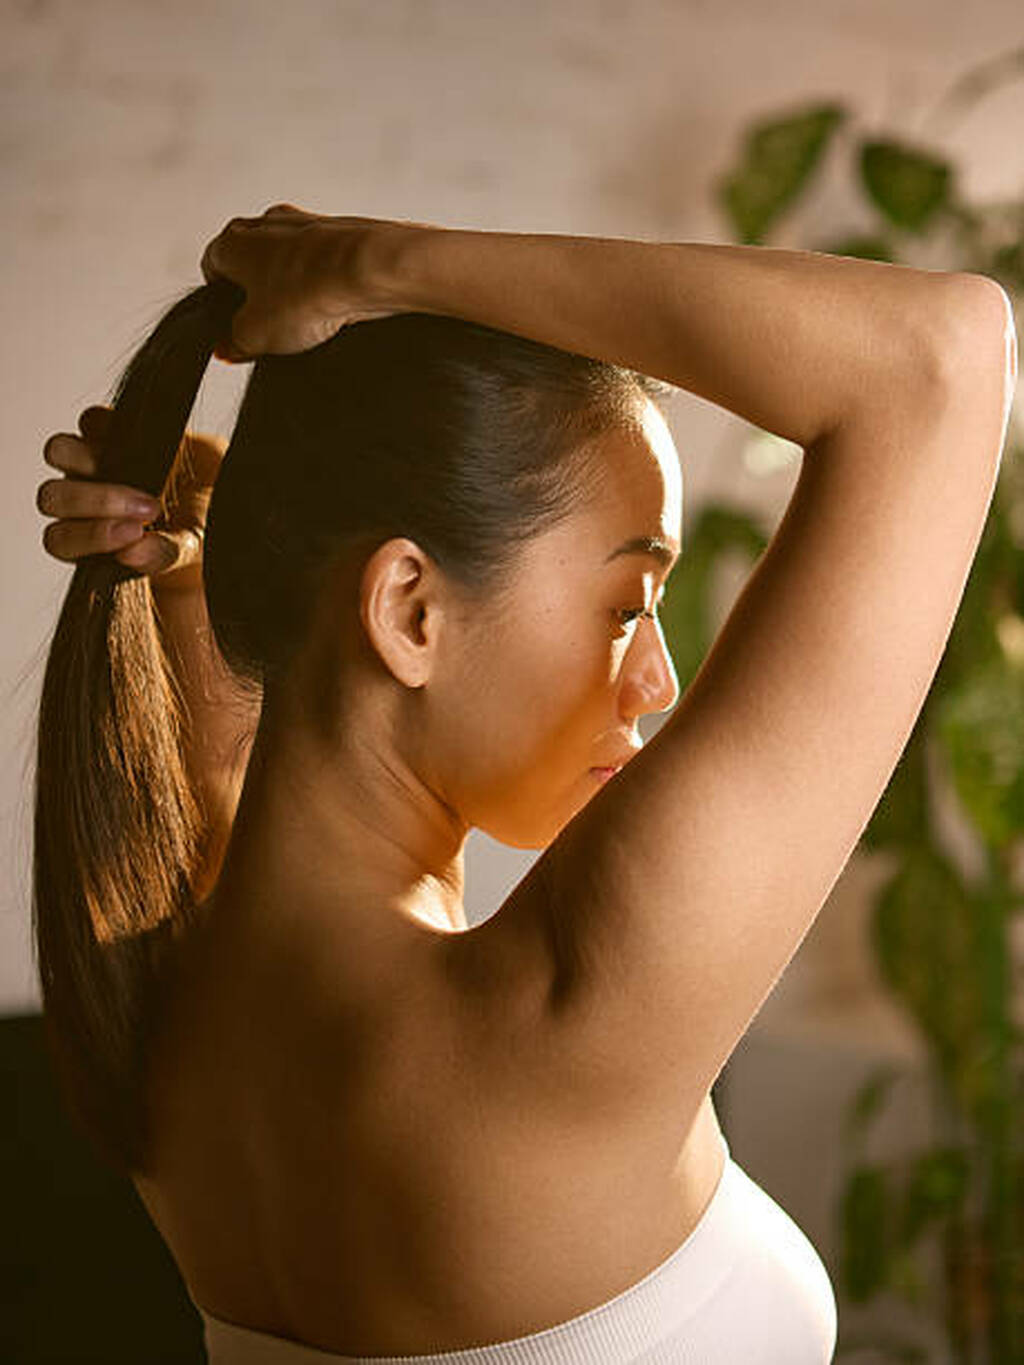
Ever wonder why this technique has such a ridiculous name? Because your hair literally looks like a pineapple top. But hear me out—it works.
Here’s how it goes: Flip your head upside down and gather all your hair into a super high ponytail right on top of your head. We’re talking practically on your forehead here. Use a silk scrunchie (regular hair ties will leave creases, and nobody wants that).
Sleep on it, and in the morning, release the ponytail. Your curls will have volume for days, and any existing curl pattern gets preserved and enhanced.
Best for: People who already have some wave or curl and want to maintain it while adding serious volume at the roots. If you’ve got pin-straight hair, this might not be your miracle method, but it’s worth a shot.
Advertisement
Method 2: Braiding Techniques
Ah yes, the OG heatless curl method. Your grandma probably did this, and guess what? She was onto something.
The beauty of braids is their versatility. Want loose, beachy waves? Do 2 braids (one on each side). Want tighter, more defined curls? Go for 4-6 smaller braids. French braids give you waves that start closer to your roots, while regular braids give you more of that mermaid vibe.
Here’s the process:
- Section your damp hair
- Apply your curl product
- Braid each section (tighter braids = tighter curls)
- Secure with soft hair ties
- Sleep, dream, wake up fabulous
Best for: Literally everyone. If you’re new to overnight curling, start here. It’s foolproof, and you probably already know how to braid. No special tools required.
Advertisement
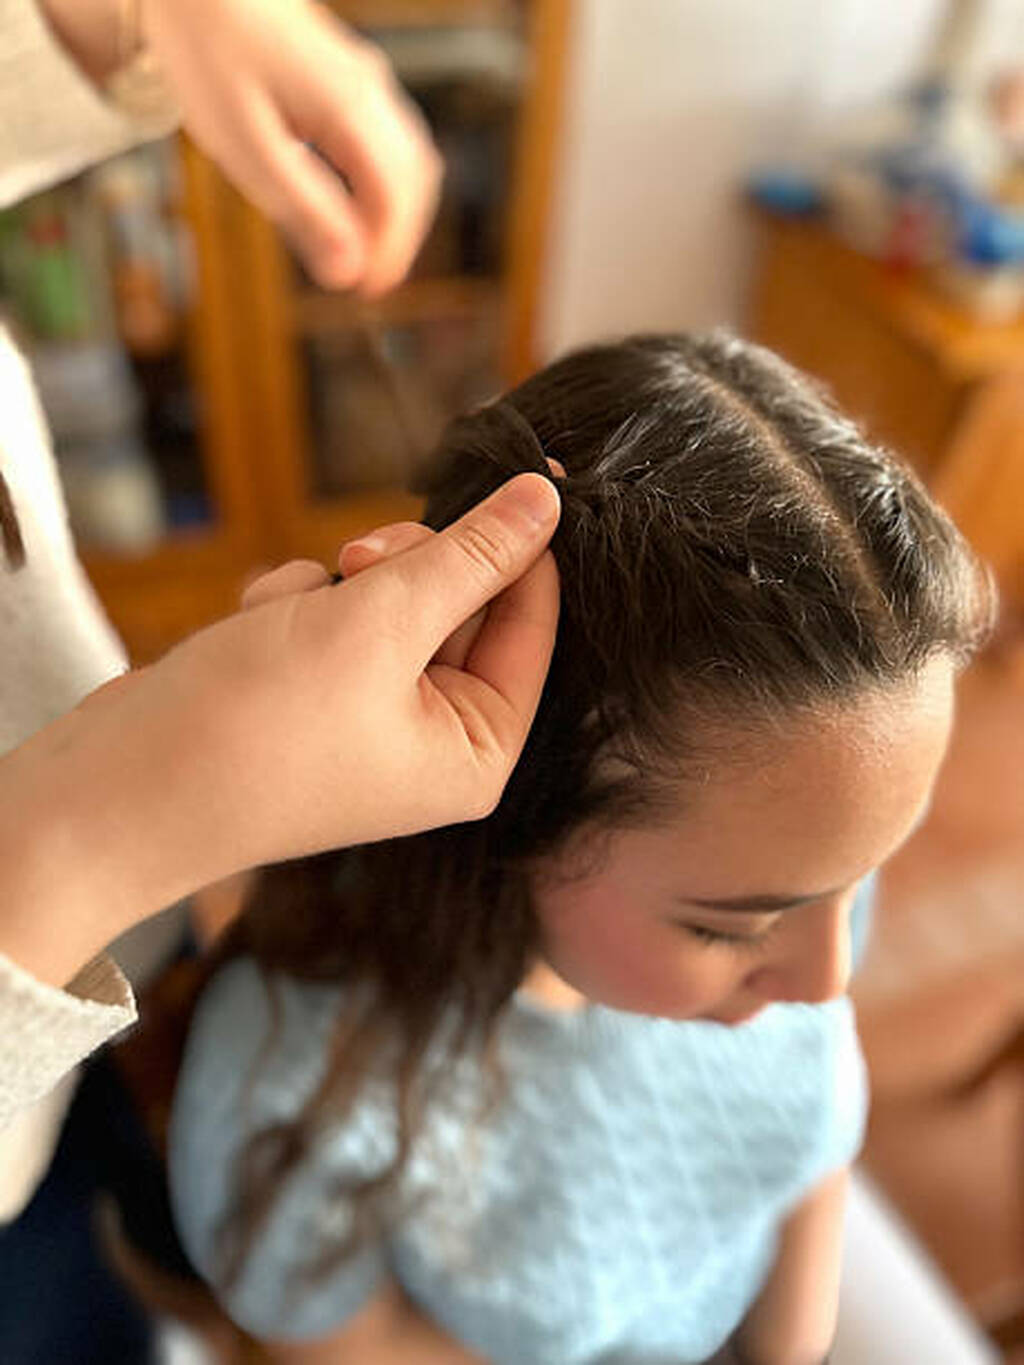
Method 3: Bantu Knots
These little twisted knots originated from African hair styling traditions, and they create some of the most defined spiral curls you’ll ever see.
Take a section of damp hair, twist it until it coils onto itself, then wrap it into a small knot against your scalp. Secure it with a bobby pin if needed. Repeat all over your head until you look like you’ve got little hair buns everywhere.
In the morning, carefully unravel each knot and boom—tight, springy, spiral curls that look like you spent hours with a curling iron.
Best for: Anyone wanting defined spiral curls, and it works exceptionally well on textured hair. FYI, the smaller your sections, the tighter your curls will be.
Method 4: Twist-Outs
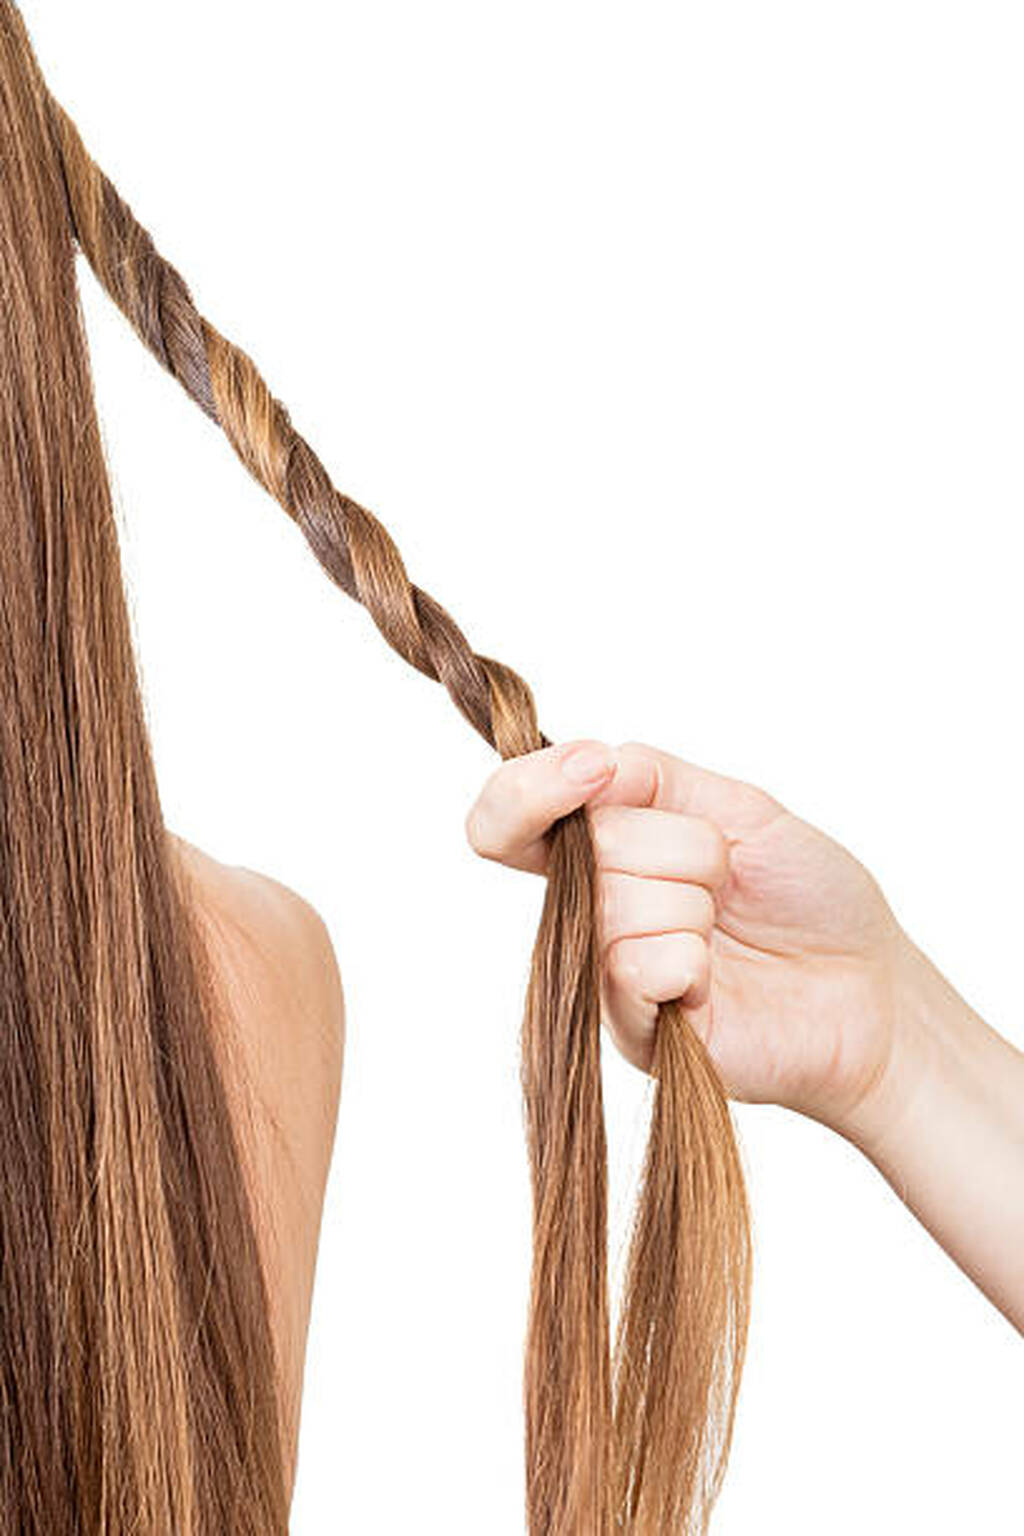
Similar to Bantu knots but with a different vibe. Twist-outs give you natural-looking, defined curls without that super-tight spiral effect.
Here’s the deal: Take a section of damp hair and divide it into two strands. Twist those strands around each other all the way down to the ends. Do this all over your head—you’ll look like you’ve got rope-like twists hanging down.
Sleep on it (a silk bonnet helps here), then untwist in the morning. The result? Natural-looking, defined curls that don’t scream “I tried too hard.”
Best for: Medium to thick hair textures. If you’ve got super fine hair, the twists might not hold as well, but hey—experimenting never hurt anyone.
Method 5: Flexi Rods or Foam Rollers
Okay, so you need to buy something for this one, but flexi rods are like $5 at any drugstore, so let’s not pretend that’s breaking the bank.
These bendy, foam-covered rods come in different sizes. Smaller rods = tighter curls. Larger rods = looser waves. Pretty straightforward math, right?
The technique: Take a section of damp hair, wrap it around the rod starting from the ends and rolling up toward your roots. Bend the rod to secure it. Repeat until your whole head is covered.
The beauty here is you get uniform, bouncy curls that look polished and intentional. Plus, if you wear a silk bonnet over them, you can actually sleep comfortably (mostly).
Best for: Anyone who wants consistent, salon-looking curls without the heat damage. IMO, this is worth the small investment.
Method 6: The Sock Bun Method
Yes, you read that right. A sock. A clean one, preferably—let’s have some standards here.
Cut the toe off an old sock and roll it into a donut shape (or just buy a donut bun maker if you’re fancy). Pull your damp hair into a high ponytail, thread it through the sock donut, then wrap your hair around it and roll the whole thing down toward your head.
Sleep on it, and when you wake up, you’ll have loose, beachy waves with amazing volume at the roots.
Best for: Long hair. If you’ve got a bob, this method is gonna be pretty useless for you. But for my long-haired friends, this creates those effortless-looking waves everyone pretends they woke up with naturally.
Method 7: Pin Curls
Time to channel your inner 1940s Hollywood starlet. Pin curls might sound vintage, but they deliver serious results.
Take small sections of damp hair, wrap them around your finger to create a curl shape, then pin them flat against your head with bobby pins. It looks a bit ridiculous while you’re doing it—like you’re preparing for a period drama audition—but the results are worth it.
What you get: Vintage-style curls and waves that have that classic, glamorous look.
Best for: Short to medium hair. This technique works beautifully on shorter lengths where other methods might not be practical.
Method 8: The Headband/Robe Tie Method
This viral TikTok method took over the internet for a reason—it actually works, and it’s ridiculously gentle on your hair.
Grab a stretchy headband or a robe tie and place it across the top of your head like a headband. Take sections of your damp hair and wrap them around the band, working your way around your head. Tuck the ends in as you go.
Sleep on it (which is surprisingly comfortable, by the way), and when you unravel everything in the morning, you’ll have soft, flowing curls that look effortless.
Best for: All hair lengths. Plus, this method is super gentle—no pulling, no tight elastics, just soft, beautiful curls.
Method 9: Plopping with a T-Shirt

If you’ve got naturally wavy or curly hair that just needs some definition, plopping is about to become your best friend.
Here’s the weird but effective process: Lay a cotton t-shirt flat, flip your damp, product-filled hair onto it, then wrap the shirt around your head like a turban. The fabric absorbs excess moisture while encouraging your natural curl pattern to form.
Why it works: The cotton fabric is gentler than regular towels (which can cause frizz), and the scrunched position helps curls form and set.
Best for: People with naturally wavy or curly hair who want more definition and less frizz. If you’ve got poker-straight hair, this won’t magically create curls, but it’ll enhance whatever texture you’ve already got.
Method 10: Paper Towel Curls
Running on a budget? Don’t have any curl tools? Paper towels to the rescue.
Tear paper towels into strips, take small sections of damp hair, and roll them around the paper towel strips. Tie the ends of the paper towel together to secure. It sounds janky, I know, but desperate times call for creative measures :/
The result: Tight, spiral curls that look surprisingly good considering you used literal paper towels.
Best for: Anyone who doesn’t have access to proper curl tools but still wants results. It’s not the most comfortable method to sleep in, but hey—beauty is pain, right?
Tips for Best Results
Want to maximize your curl game? Here’s what you need to know:
Invest in a silk or satin pillowcase. Seriously, this one change will reduce frizz like nothing else. Cotton pillowcases create friction that messes with your curl pattern.
Don’t go to bed with soaking wet hair. I mentioned this before, but it bears repeating because I know you’re tempted. Damp is the goal—not wet.
Apply products evenly. Don’t just slap curl cream on the top layer and call it a day. Work it through all your hair for consistent results.
Experiment to find your favorite method. What works for your best friend might not work for you, and that’s okay. Hair is weirdly personal like that.
Be patient. Your first attempt might not be perfect. Results improve with practice as you figure out the right dampness level, product amount, and technique for your specific hair.
Morning Routine for Perfect Curls

You’ve made it through the night—now don’t mess it up in the final stretch.
Carefully take down your curls. No yanking, no rushing. Gentle is the name of the game here.
Finger-comb only. Put down the brush. Step away from the brush. Brushing will turn your beautiful curls into a frizzy triangle situation real quick.
Use a light hair oil or serum on your palms, then scrunch it through your curls to reduce any frizz and add shine.
Want your curls to last all day? Hit them with some flexible-hold hairspray. Not that crunchy stuff from the 90s—we’ve evolved past that.
Finally, scrunch for added bounce. Flip your head upside down, scrunch those curls, and admire your handiwork.
Wrapping It Up
There you have it—10 legitimate ways to make your hair curlier overnight without damaging it with heat or spending a fortune at the salon. From the classic braid method to the viral headband technique, you’ve got options for days.
The key is experimenting until you find what works for your hair type and lifestyle. Maybe you’re a braiding person. Maybe you’ll become obsessed with flexi rods. Who knows? The fun is in the discovery.
Here’s my final piece of advice: Consistency is key. Don’t try a method once, have it not work perfectly, and give up. Give each technique a few tries to really get the hang of it.
Now go forth and create those curls! Try one of these methods tonight and see what happens. Your hair might just surprise you. And if you find your favorite method, share it with someone else who’s struggling with their curl journey—we’re all in this together.