

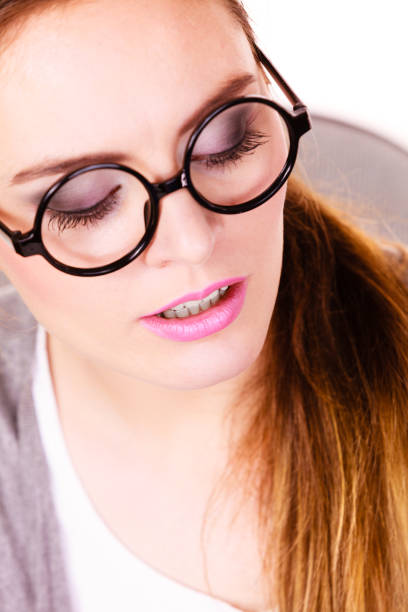
Let’s be real — putting on makeup when you wear glasses is a whole different situation. You spend time crafting the perfect smoky eye, pop your frames back on, and suddenly half your work is hidden… or worse, smudged all over your lenses. Sound familiar? Yeah, we’ve all been there. :/
Here’s the thing though: glasses don’t have to be the enemy of your makeup routine. They can actually elevate your entire look when you know a few smart tricks. Whether your lenses make your eyes look smaller or larger, whether your frames are bold or barely there — this guide has you covered.
By the end of this post, you’ll know exactly how to apply makeup that works with your glasses, not against them. Let’s get into it.
Understand Your Lens Type First

Before you even pick up a brush, you need to know what kind of lenses you’re working with. This one detail changes everything about how you apply your makeup.
Nearsighted (Myopic) Lenses
If you’re nearsighted, your lenses shrink the appearance of your eyes. That means you want to go a little bolder — thicker liner, more defined lashes, and eyeshadow with real pigment. Think of it as compensating for what the lens takes away.
Farsighted (Hyperopic) Lenses
Farsighted lenses do the opposite — they magnify your eyes. Every crease, every smudge, every unblended edge gets put on display. Your motto here: subtlety is your best friend. Opt for softer shades and precise application.
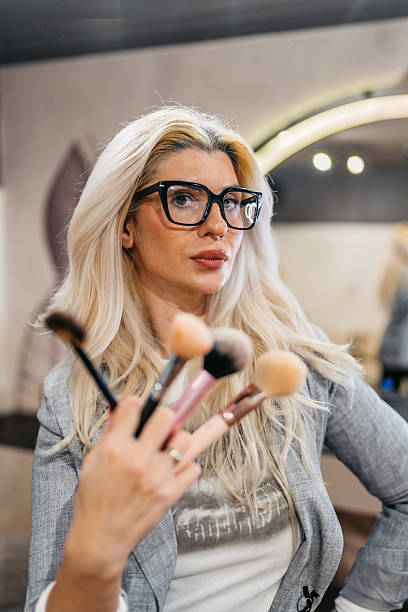
Tools & Products You’ll Need
The right tools make this so much easier. Here’s your glasses-friendly makeup kit:
- Eye primer: non-negotiable. Urban Decay Eyeshadow Primer Potion (high-end) or e.l.f. Eye Primer (budget) both work great.
- Face primer: helps your base stay put all day and prevents makeup transfer onto your frames.
- Smudge-proof mascara: a must. Look for waterproof or tubing mascaras like Maybelline Lash Sensational or Lancôme Monsieur Big.
- Setting spray: locks everything in place. MAC Fix+ or the budget pick, NYX Matte Finish.
- Precision brushes: a small flat shader brush and a fine liner brush give you control that chunky brushes simply can’t.
Skincare & Prep — The Foundation of It All
Glasses wearers deal with one specific skincare annoyance that most people overlook: nose pad marks. Those little red dents on the sides of your nose? Yeah, no concealer will fix those if you haven’t prepped your skin properly.
Start with a lightweight moisturizer — heavy creams slide under your frames all day. Follow up with a mattifying primer on the nose and T-zone. This creates a barrier that keeps your base from creasing where your pads rest.
If your frames cause redness or irritation, a green color corrector under your foundation works wonders. Apply it only where needed and blend well before your base.
Step-by-Step Makeup Application
Alright, here’s the part you came for. Follow these steps in order and you’ll have a look that holds up all day — glasses and all.
Advertisement
Step 1 — Foundation & Concealer
Choose medium to full coverage — you want a clean, even base that photographs well through your lenses. Apply concealer on your nose pad marks using a damp beauty sponge and pat (don’t rub) to blend seamlessly.
Step 2 — Setting Your Base
Powder is genuinely your best friend here. A translucent setting powder on your nose bridge and under-eye area prevents your frames from picking up product throughout the day. Don’t skip this — you’ll thank yourself by noon.
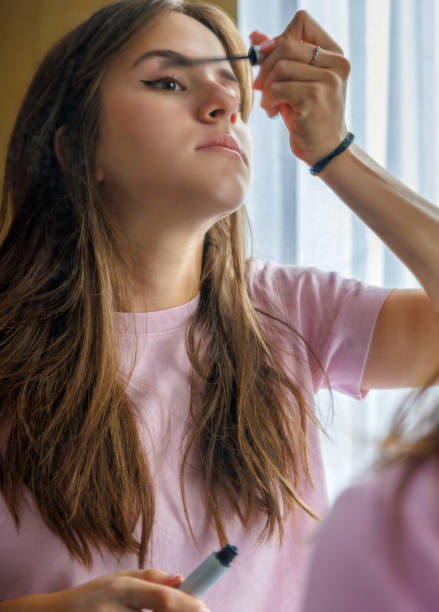
Step 3 — Eyebrows
Advertisement
Brows frame your face even more than usual when you wear glasses. Well-groomed, defined brows peek above your frames and give structure to your entire look. If your frames are thick, keep brows clean and natural-looking — they don’t need to compete. Thinner frames? You can go slightly bolder.
Step 4 — Eye Primer

Apply eye primer to your entire lid before any shadow. This one step prevents creasing, intensifies color, and makes your eyeshadow last 10+ hours. Skipping it with glasses is especially painful — your lenses act like a magnifying glass for every crease. FYI, you’ll never want to go without it once you try it.
Step 5 — Eyeshadow
For nearsighted wearers: use deeper shades on the crease and a shimmery shade on the lid to create the illusion of larger eyes. For farsighted wearers: keep the lid color light and use depth only in the outer corner — nothing too dramatic or it’ll read as overdone.
Step 6 — Eyeliner
Try tightlining — applying liner to the upper waterline — instead of a thick line on the lid. It defines your eyes without adding heaviness that can look overwhelming behind lenses. A thin wing is fine if your frames are thin; skip it if they’re already bold.
Step 7 — Mascara
Use a waterproof or tubing mascara to avoid the dreaded smudge on your lenses. Curl your lashes before applying mascara — a good curl lifts lashes away from the lens surface and keeps them from tapping the glass when you blink. (Yes, that’s a thing. Yes, it’s as annoying as it sounds.)
Step 8 — Blush, Bronzer & Highlighter
Apply blush just above where your frames sit, not below — this keeps the color visible and fresh-looking. For bronzer, sweep it along the temples and hairline. Avoid applying highlighter directly on the nose bridge — it reflects off your lenses and creates a weird glare. Stick to the tops of your cheekbones instead.
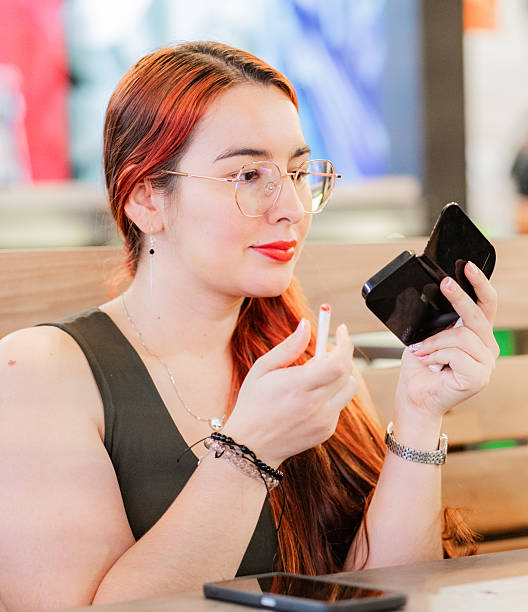
Step 9 — Lips
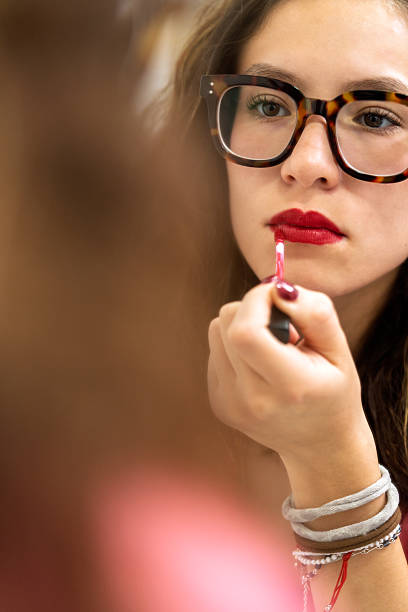
This is where glasses actually give you a styling advantage. A bold lip balances the visual weight of your frames beautifully. If your frames are dark, try a berry or red lip. If you’re rocking tortoiseshell, warm nudes and corals look stunning. When in doubt, your lips and frames don’t need to match — they just need to coexist harmoniously.
Step 10 — Setting Your Makeup
Finish with a setting spray held about 12 inches from your face. This locks everything in place and gives your skin a natural, non-powdery finish. Let it dry completely before putting your glasses back on.
Makeup Tips Based on Frame Style
Your frame style is basically another accessory, so your makeup should complement it. Here’s a quick breakdown:
- Bold/thick frames: keep eye makeup simple — a clean lid and great lashes are enough. Let a bold lip do the heavy lifting.
- Thin/wire frames: you have more freedom here. Go ahead with that dramatic eye or cut crease — your frames won’t compete.
- Colored frames: coordinate or contrast intentionally. Warm-toned frames love earthy eyeshadow; cool-toned frames pair well with smoky greys and plums.
- Round frames: angular eye looks (like a slight wing) add definition. Angular frames? Softer, rounded eyeshadow blending balances things out.
Common Mistakes to Avoid
We all learn from mistakes, but let’s save you some time:
- Skipping eye primer: the number one reason your eyeshadow creases by midday.
- Ignoring your brows: they’re the first thing people notice above your frames — don’t neglect them.
- Over-applying highlighter under the eyes: it catches lens glare and draws attention to under-eye areas.
- Choosing the wrong mascara: non-waterproof formulas practically guarantee smudged lenses.
- Forgetting your lens type: applying the same makeup regardless of whether your lenses shrink or enlarge your eyes is a classic misstep.
Quick Everyday Makeup Routine for Glasses Wearers
Not every day calls for a full glam session. On busy mornings, this five-minute routine delivers a polished, put-together look:
- Tinted moisturizer or BB cream (skip full foundation)
- Concealer on nose pad marks only
- Translucent powder on the nose bridge and under eyes
- One coat of waterproof mascara + a quick lash curl
- Filled-in brows with a pencil or tinted brow gel
- A swipe of tinted lip balm or your favorite bold lip
That’s it. Six steps, five minutes, and you look completely intentional. IMO this routine works better than some full-face looks because it lets your glasses do the talking.
Conclusion: Own Your Frames, Own Your Look
Here’s the big takeaway: wearing glasses doesn’t limit your makeup — it gives you a built-in style element that most people don’t have. Knowing your lens type, prepping your skin properly, using the right smudge-proof products, and tailoring your look to your frame style are the four pillars of flawless glasses-friendly makeup.
Stop treating your glasses as an afterthought. They’re part of your look — so make them work for you. The next time you put your frames on and catch your reflection, you should feel like the whole thing came together on purpose. Because now, it will. 🙂
Found this helpful? Save this post, share it with a glasses-wearing friend who needs it, and drop a comment below telling me what your biggest glasses-and-makeup struggle has been. I’d love to hear it!