
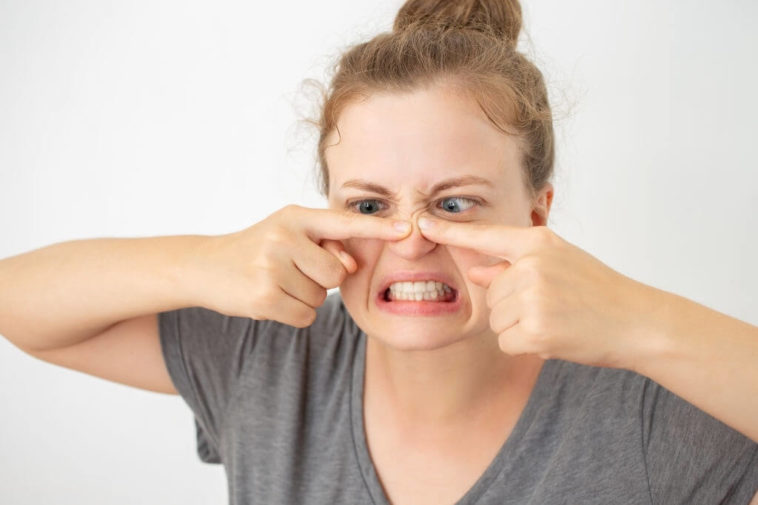
Blackheads are pretty unsightly. Since I dream of perfect skin, I make my own blackhead patches.
In magazines, on TV, on posters, they all have perfect skin. Of course, we all know about the retouching done by computer to hide flaws. Instead of dreaming of looking like them, I have a foolproof trick for clear, smooth and blemish-free skin.
Massive destruction of impurities
To eliminate blackheads, there are several solutions. Exfoliating is one of them, when done once a week.
I remind you that blackheads are created by an excess of sebum that gets stuck in the pores.
Soap, creams and other products applied to the face encourage the appearance of sebum and therefore blackheads. The patches sold in supermarkets are very effective, but they are a bit expensive.
So I suggest you make your own. The patch is a kind of tape that sticks when it dries on the skin. By removing it like a film, you can remove blackheads at the same time. Ingredients Homemade patches also mean culinary ingredients.
I need :
- milk
- 2 sheets of gelatine to create the patch texture
- a brush
- a container that can be put in the microwave
A clean face, pores wide open Before applying the patch, it is necessary to prepare your face. Otherwise, the patch will not work very well.
- I clean my face properly.
- I take a steam bath to dilate the pores and facilitate the extraction of blackheads. A nice warm shower is enough.
Alternatively, I can put my face over a large bowl of hot water for 5 minutes or a pressure cooker.
How to Get rid of your Blackheads
- I pour a tablespoon of milk into the microwaveable container.
- I cut my gelatine leaves into small pieces with a pair of scissors. Dip them in the milk.
- I put the container filled with milk and gelatine in the microwave for 15 seconds. The heat will allow the gelatine pieces to melt and become incorporated into the milk.
- Using a brush, I mix it all together.
How do I use it?
Once everything is well mixed, I wait a little while for it to cool. But not too long, otherwise the dough will harden.
- With the brush, I apply the paste on the nose, especially on the contours of the nose. I also put some on the chin and the forehead (the famous T-zone of the face which makes us see all the colours!).
- I wait for it to dry on my skin, about 15 minutes. I can tell because the patch comes off on the extremities and causes some slight tightening of the skin.
- When the patch is completely dry, you peel it off like you would remove a piece of tape. Gently, because it pulls the skin a little.
- You can see the blackheads that have stuck to the patch.
The patch may not remove all the blackheads at once, but if you do it regularly, the result can be really satisfying.
Result
And now I have no more impurities on my face: no more blackheads 🙂
Now it’s your turn…
Have you tried this recipe to make your own blackhead patches? Tell us in the comments if it worked for you. We can’t wait to hear from you!