
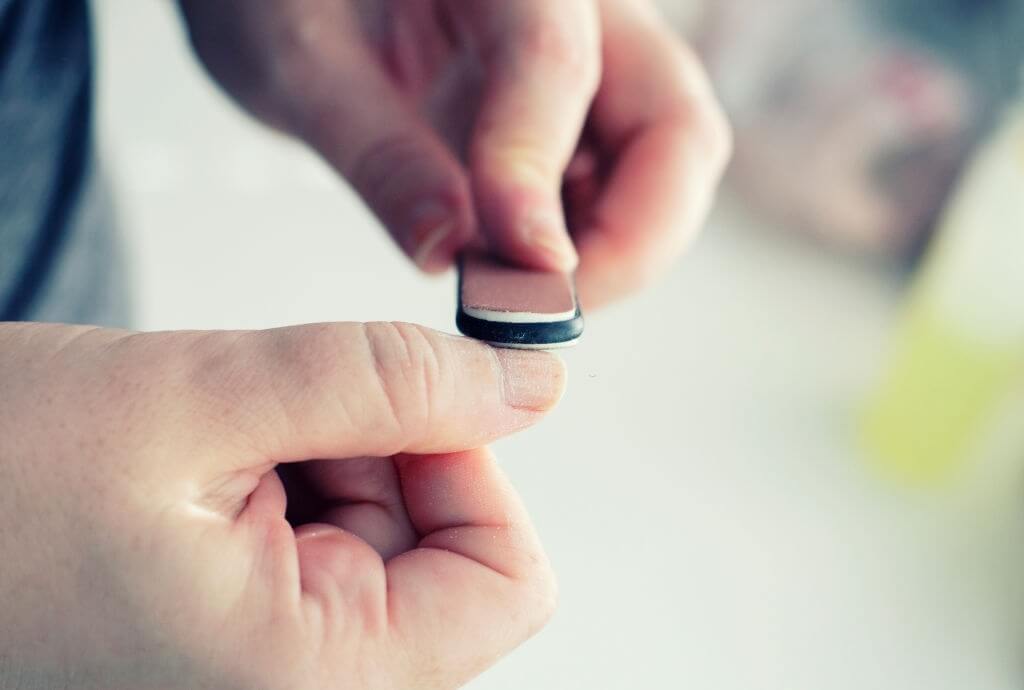
Step 3 : Remove any leftover fragments with a soft cloth.
After allowing the acrylic to dissolve, use a nail file, cuticle pusher, wood stick, or nail buffer to remove the leftover fragments of artificial nail. Buff softly rather than filing, advises Choi.
If the remaining bits are stubborn, soak your nails in acetone for a few minutes before carefully removing them “important word: gently!”.
A close-up of a woman’s hands putting nail polish on her index fingernail.
Step 4 : Keep your nails hydrated.
After you’ve removed all of the acrylic nails, give your nails and hands some TLC to restore moisture and strengthen your nail beds, especially if they’ve been soaked in acetone.
According to Choi, a lot of moisture is required. Fingernail skin oil, thick hand cream, hand covers, and paraffin medicines are for the most part superb strategies to saturate your hands and nail beds.
Even if you don’t have time for a DIY manicure, a small amount of hand lotion may do wonders.
After you’ve finished removing your nails, it’s advisable to wait a few minutes before going back to the manicure salon for a new set. Choi recommends doing a nail cleanse every now and again. Regularly washing and caring for your nails can help to prevent any nail fungus and bacteria concerns that may arise from the usage of acrylic nails on a regular basis.
While it’s usually best to leave the removal process to a professional to avoid damaging your nails. You can restore your natural nails and remove your overgrown manicure with a little time and care. The same four guidelines apply whether you’re attempting to remove acrylic nails, a gel manicure, or dip powder nails: file, soak, buff, and moisturize.