
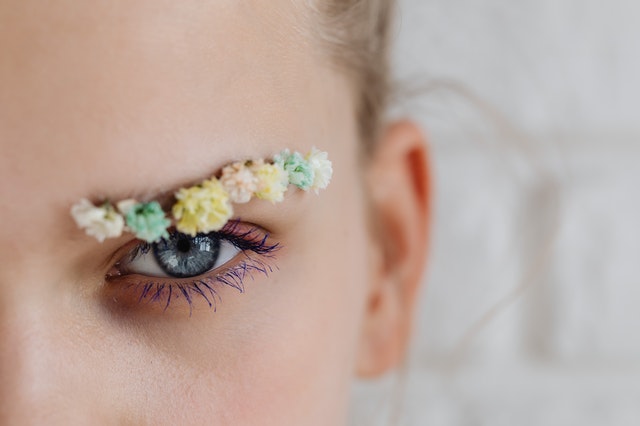
Today, we’re going to see how to draw your eyebrow make up easily in seven steps, and you’ll see that you don’t need to be a makeup pro to have “eyebrows on fleek“, i.e. perfect eyebrows. Be careful, there is no question of drawing eyebrows too thick, it could darken your eyes, or even completely ruin your look and distort your facial expression. Not too thin either, since you have to keep in mind that they should give a natural effect.
So, for your perfect eyebrows make up, you’ll need a bold pencil and you can’t use black: it has to be two shades lighter than your hair color! I would recommend a brown shade.
Then, you need an eyebrow gel in the same shade as the pencil, a concealer, a brush (the same as the ones you find in mascara), and a beveled brush. If you have a double-ended brush, all the better.
Let’s begin with the Eyebrows Make up guide :
Step One: Pluck Your Eyebrows

There’s no magic: to have well-defined eyebrows make up, the secret is to have well-tweezed eyebrows.
The problem is that if you have badly plucked eyebrows with the following steps, it will show and the result will be disastrous. There is no question of plucking your eyebrows very thinly either, you simply have to remove the residues ( I call it wild hair xD).
To start your plucking, stand in a well-lit area and arm yourself with a mirror. Then, take your pencil and place it vertically on the outer corner of your nostril, passing by the inner corner of your eye. This part where the pencil meets the eyebrow is the inner corner of the eyebrow.
Next, move the pencil along your eyebrow without taking it off the outer corner of your nostril. The area where the pencil meets the outer corner of your eyebrow is the area to be plucked.
Using a pair of sharp tweezers, simply remove any unwanted hair that extends beyond the previously marked area. Don’t forget to disinfect your tweezers and your eyebrow with a cotton pad and a little alcohol :).
With practice, you can play with the shape of your eyebrows according to your face. For example, for a round face, it is more advisable to mark the angles, to soften a square face the most suitable is to round the angles, etc.
Second Step: Brush Your Eyebrows

Once your eyebrows are plucked, arm yourself with the eyebrow brush or tweezers. This one is visually identical to the mascara brush. Use this brush to shape your eyebrows for a more natural and less scattered result. Preferably, brush them vertically.
Step 3: Line your brows

Now it’s time for your grease pencil to do its job. Draw the shape you want to achieve with your pencil. Check regularly to make sure your brows are symmetrical.
For a more natural effect, draw just the inner and outer corners of your eyebrow. Otherwise, if you have eyebrow stencils, you can skip this step.
Advertisement
Step four: Filling
Using the beveled brush and brow gel, fill in between the lines. Again, this is not about coloring. No need to clump your gel either, the key is to fill in the gaps.
Step five: define your brows with a concealer

For this fifth step, you need a beveled brush and a concealer adapted to your skin tone. I recommend the one offered by Maybelline’s Fit Me brand.
With a little concealer, outline your eyebrows. Contour around the lines you drew earlier. You can add more concealer, but as you go along and in small doses. Be careful not to put it between the lines, it could ruin all your pretty work.
Step six: time to blend!
Using a brush, beauty blender, or even your fingers, blend the concealer you just applied. This step will prevent clumping and, most importantly, allow the concealer to blend with your skin tone. That’s why it’s important to use a concealer that matches your skin tone. You have to admit that no one likes to see lines :).
Advertisement
Seventh step: highlighting, you need to brighten it all up!

For this last step, you need to take your brush. Lightly brush the inner corner of your eyebrow to give a more natural effect to the result. Don’t rush and risk having to redo everything, brush your brows carefully.
Here is how to draw your own eyebrows, normally if you have followed all the steps to the letter, the result should be very satisfactory, and that from the first try :).
I hope you liked this guide, I’ll see you soon for more beauty tips!